Custom Lead and Contract Views
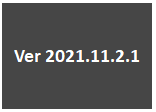
NOTE: Applies to AdminBase Web versions dated 2021.11.2.1 and later. You can check your version in Settings.
The ability for adding custom views to Leads and Contracts in AdminBase has been added.
First you need to create the view. Then you need to make it visible and in the position you want.
Creating a Custom View
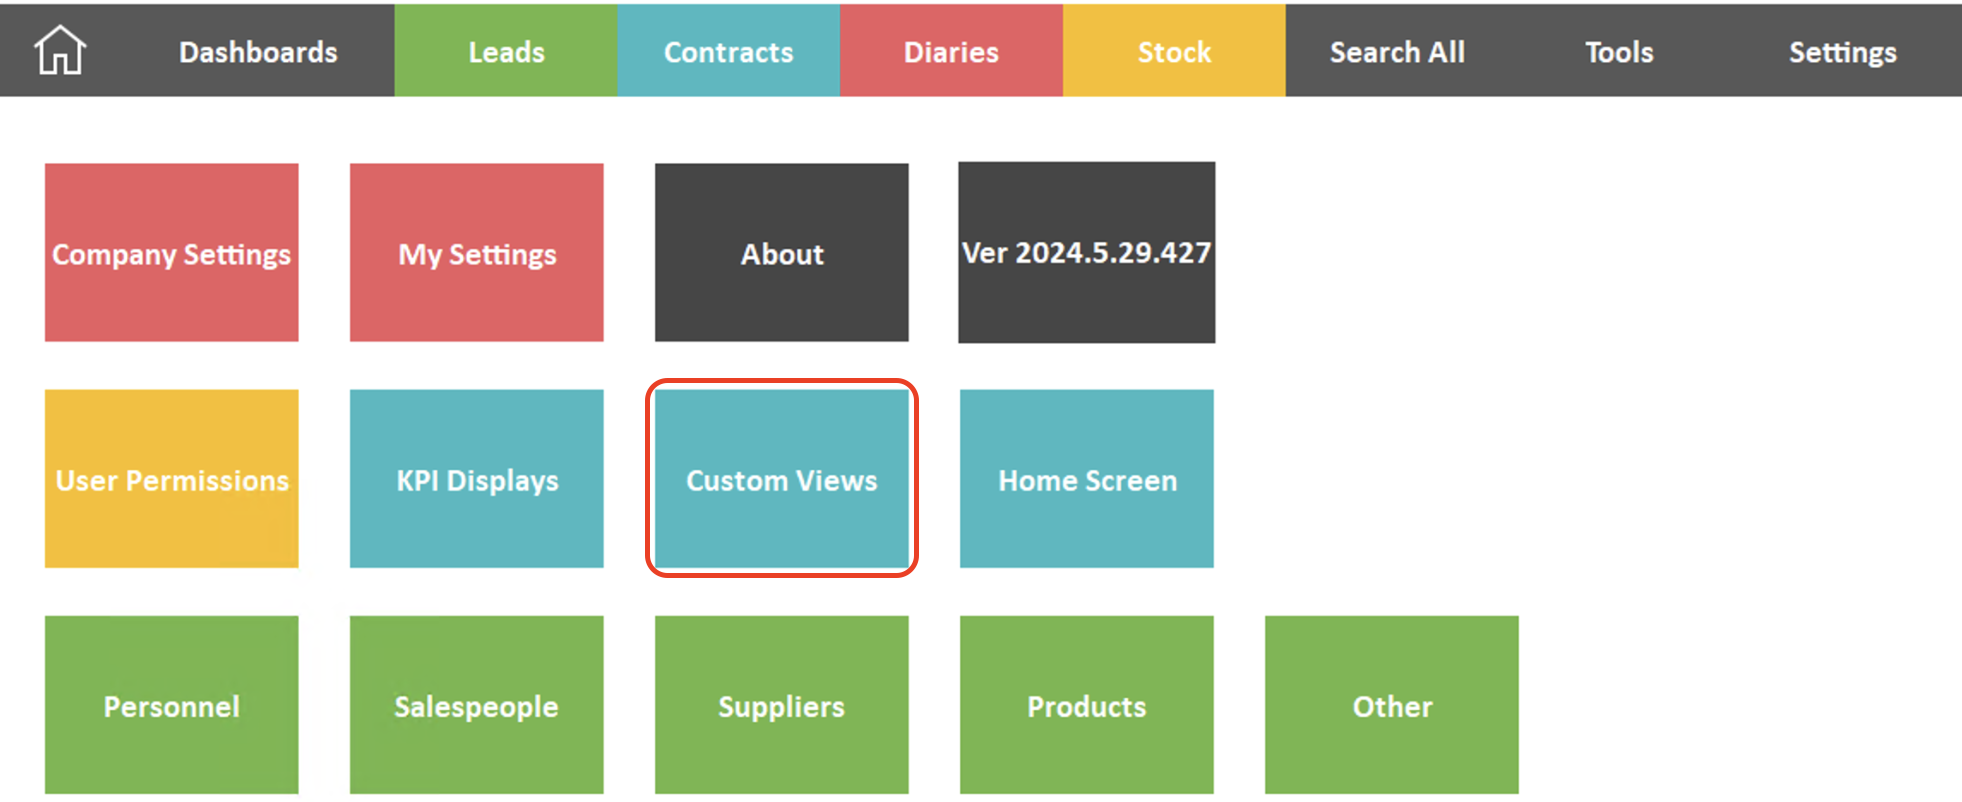
Go to Settings → Custom Views
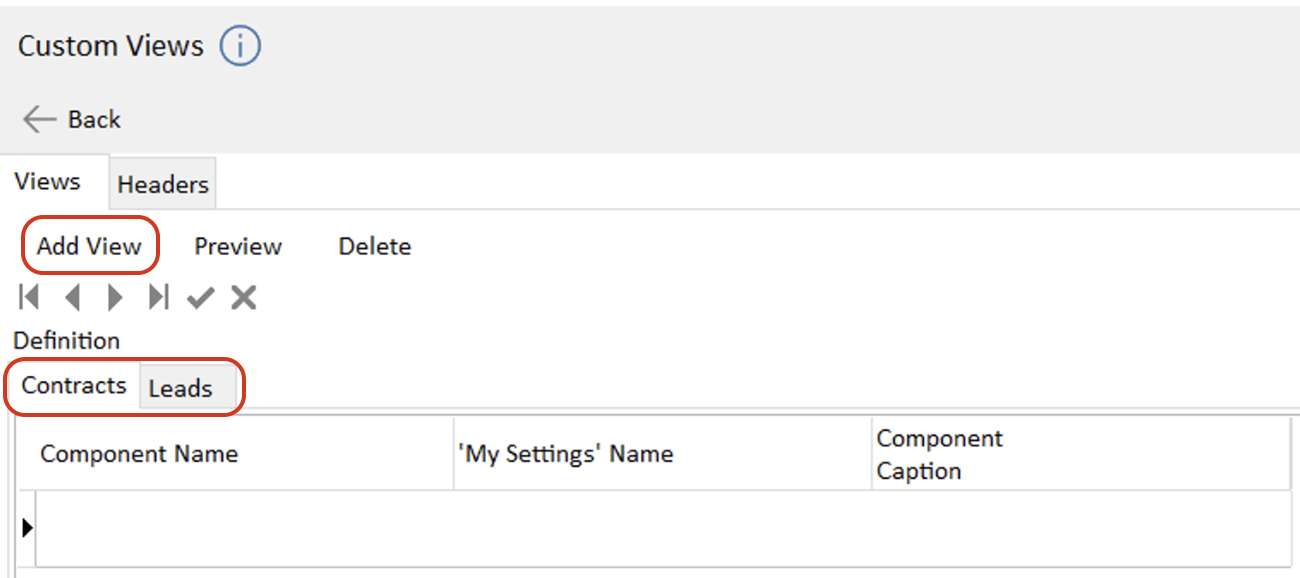
Using the headers, select whether you would like to enter a Lead or Contract Custom View and then click the Add View button
You can then define this view using Component Name, My Settings Name and Component Caption.
Component Name is a unique identifier for the new view. Eg ‘DELSTODAY’. It should be in capitals with no spaces.
Settings Name is the name that the View will appear as in My Settings.
Component Caption is how it will appear in the Leads or Contract Browser.
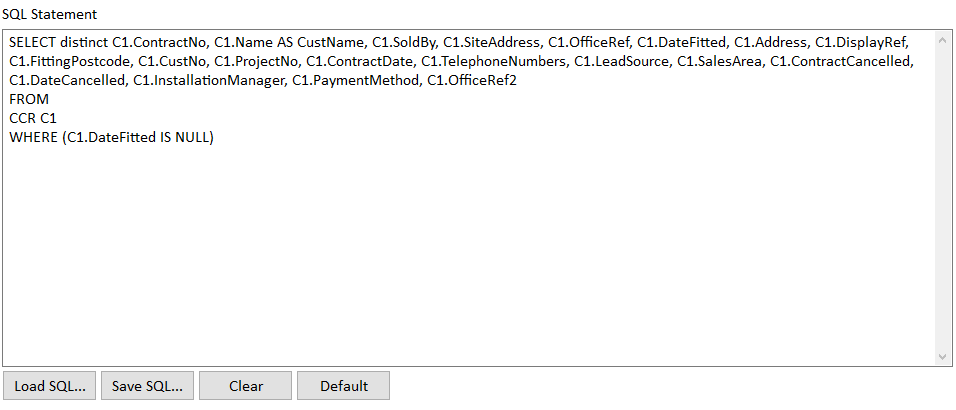
Once you have added these a default query will appear here. You can load in a query or save one here.
Please ask AdminBase Support for the SQL you need to create the view you require.
Amend your query and check the results using the Preview button.
NOTE: Queries that need a user choice are not supported. The intention of this facility is to give drill down capabilities from the home screen. Home screen widgets must not require user choices.
From version 2024.10.7.440 queries that need a user choice are supported to extend the functionality of custom views. However the note about the Home Screen Widgets is still true - do not use custom views with a user choice as drill down view from a widget. Information on how to create custom views with user choices can be found here Custom Views Enhancement
Adding to Views in Leads or Contracts
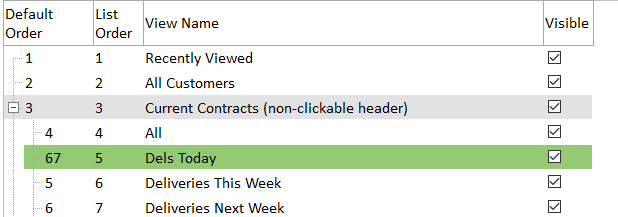
Once your custom view has been created it will now appear in My Settings at the very bottom of the list and coloured green.
Click on the Green View and it will turn Blue. You can now drag and drop it into the position you prefer.
Finally tick Visible for it to appear in the relevant View list in AdminBase
Custom Views are company wide - so only need setting up once but their visibility and position needs to be set for each user.
Creating Custom Headers in the Lead and Contract Browser
Click on the Headers tab and then click the + button to add a line.
Using the definitions explained above, enter the Component Name, My Settings Name, Component Caption. Headers automatically default to the Contract browser, so if this is a Lead header then you need to click the For Leads checkbox.
New headers can then be added into the Lead or Contract Browser in the same way as a Custom View described above.
