Email Signatures (New HTML)
The new HTML email signatures allow much more flexibility when creating signatures and default email messages. It also allows you to easily customize the emails that are sent alongside Lead and Contract Letters.
Enable HTML emails
To turn on the HTML emailing, navigate to Settings → Company Settings → Emailing and click on the Subject / Body / Signatures tab. Within the box Email content based on click HTML
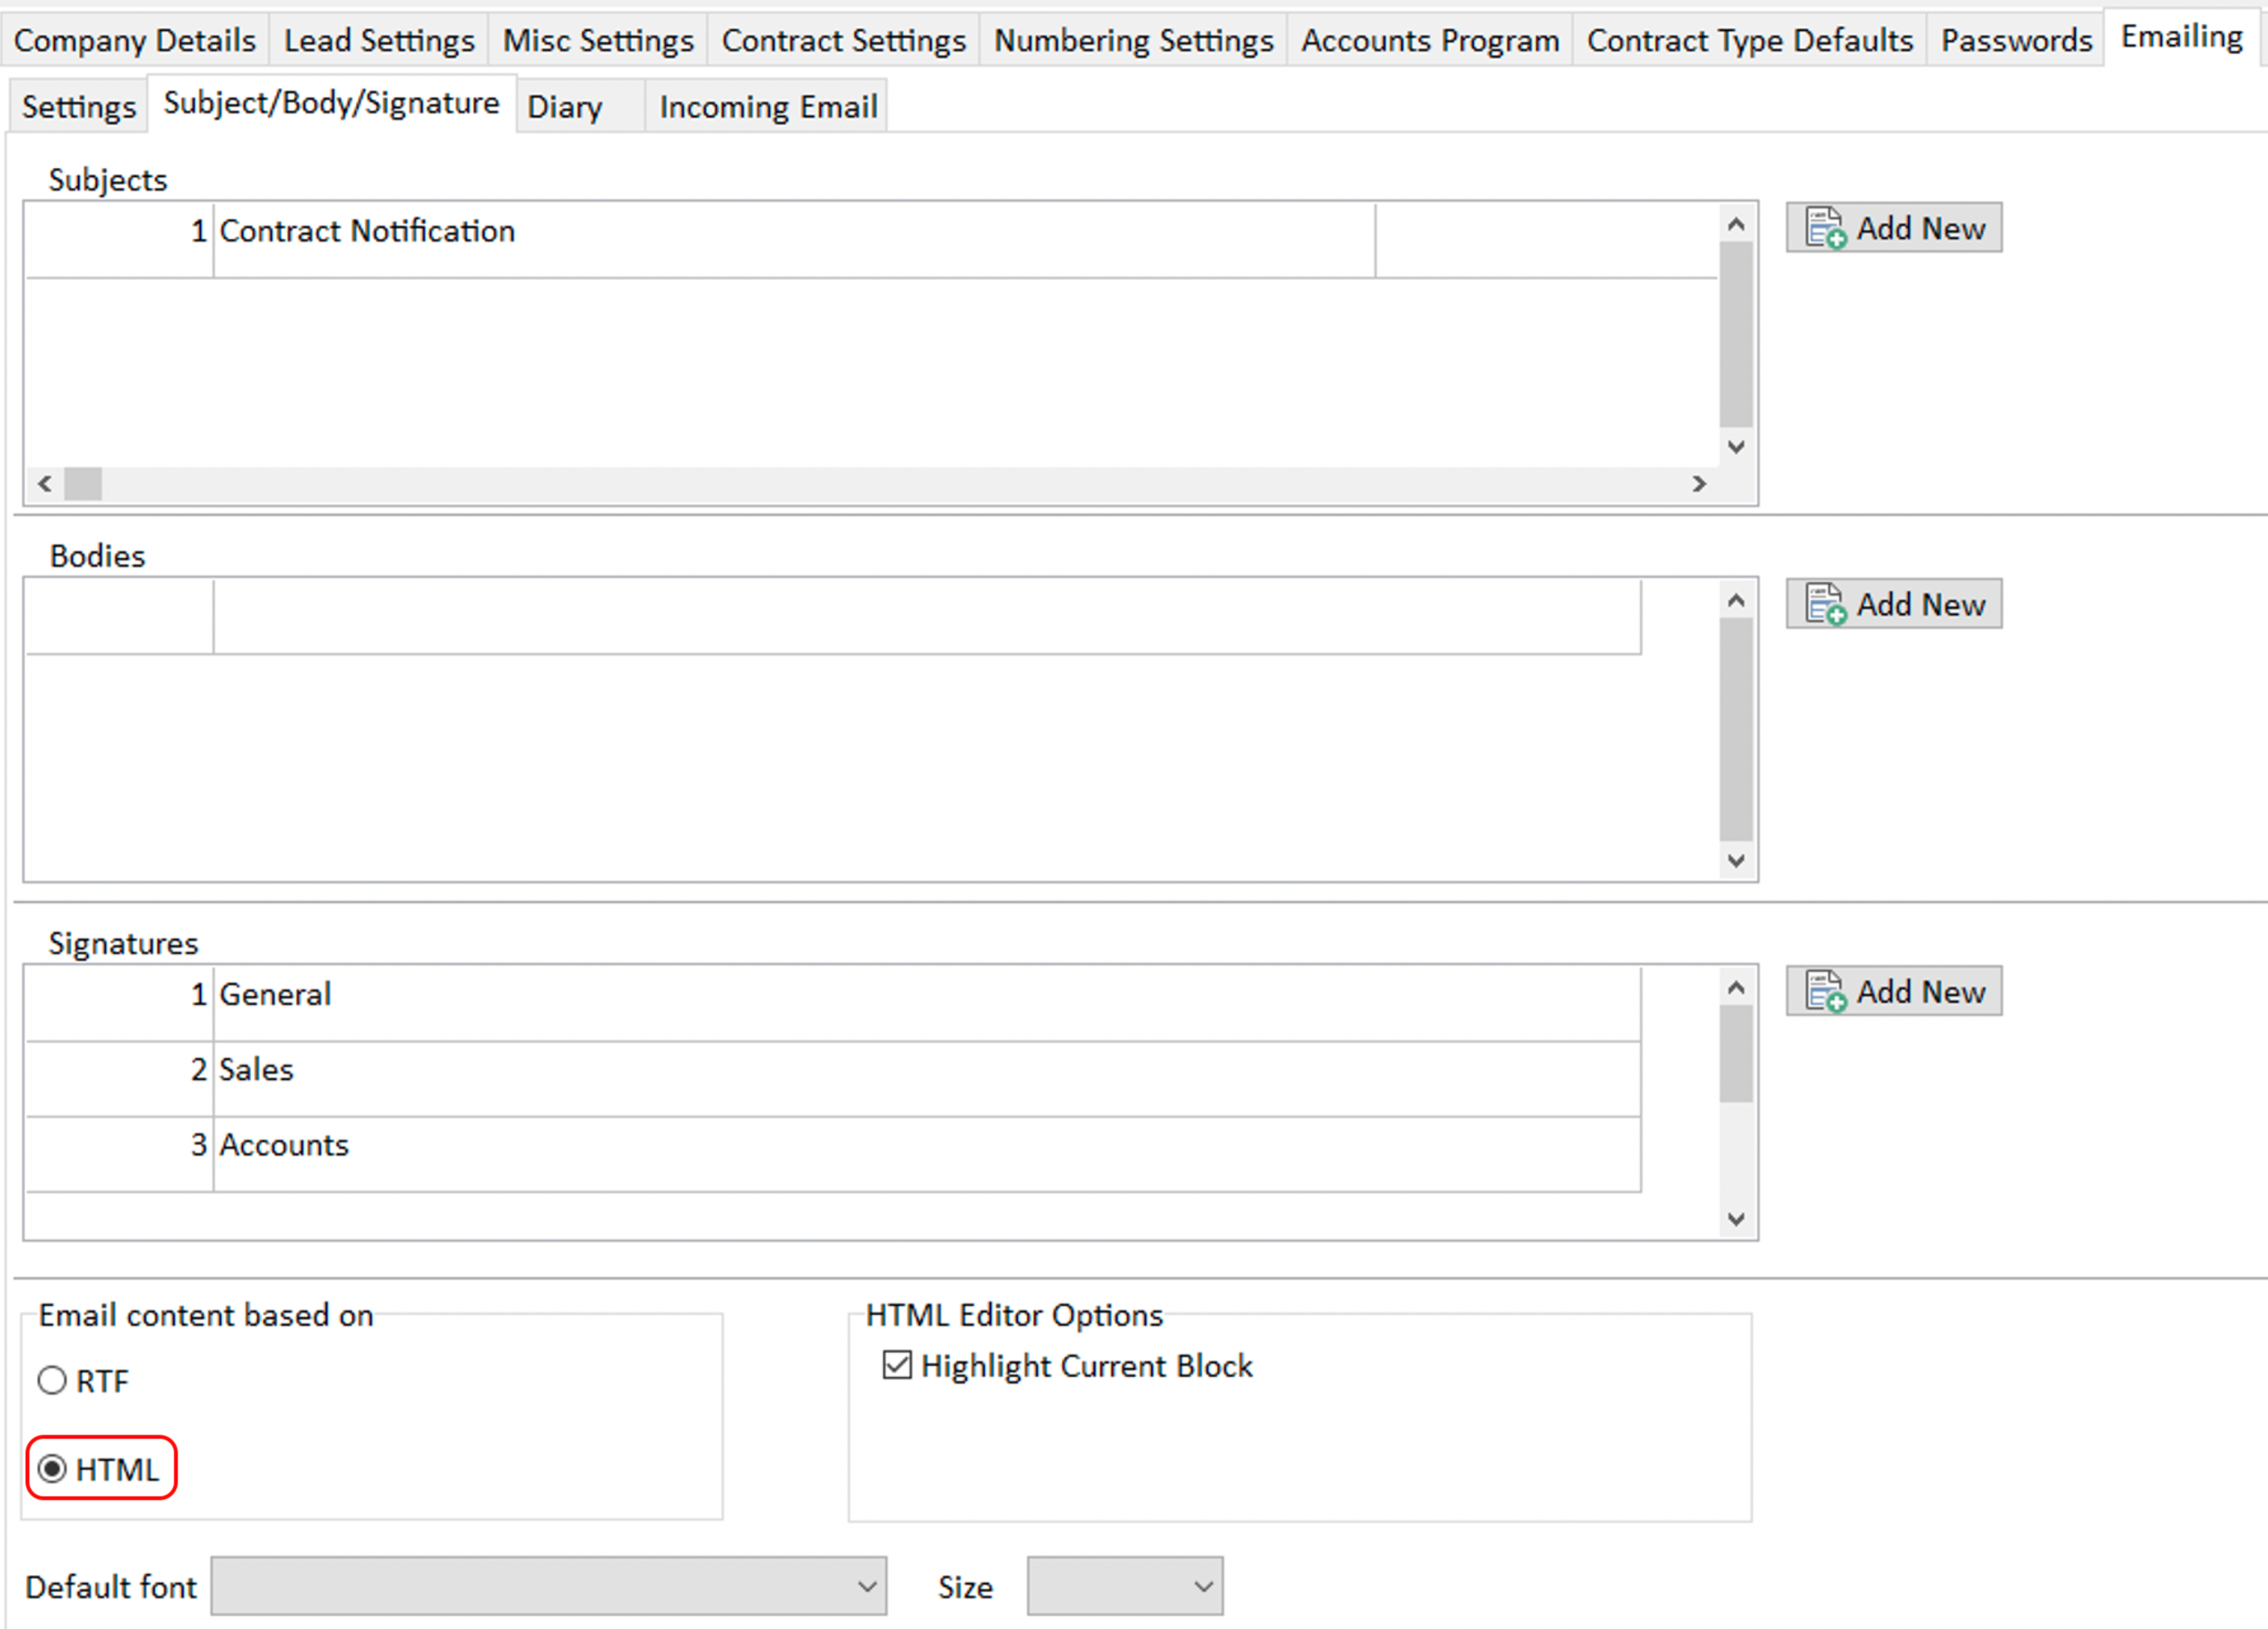
This will overwrite your old signatures so make sure you do this at a time when you can set up your new signatures.
Create new Email Signatures
Within the Signatures section of the Subject / Body / Signatures tab, click Add New to add or edit a signature, or select the signature you would like to edit and click the 3 dots.

You can copy and paste the current signature with your email client directly into this text box, however any images will need to be uploaded to AdminBase for them to display in the email signature.
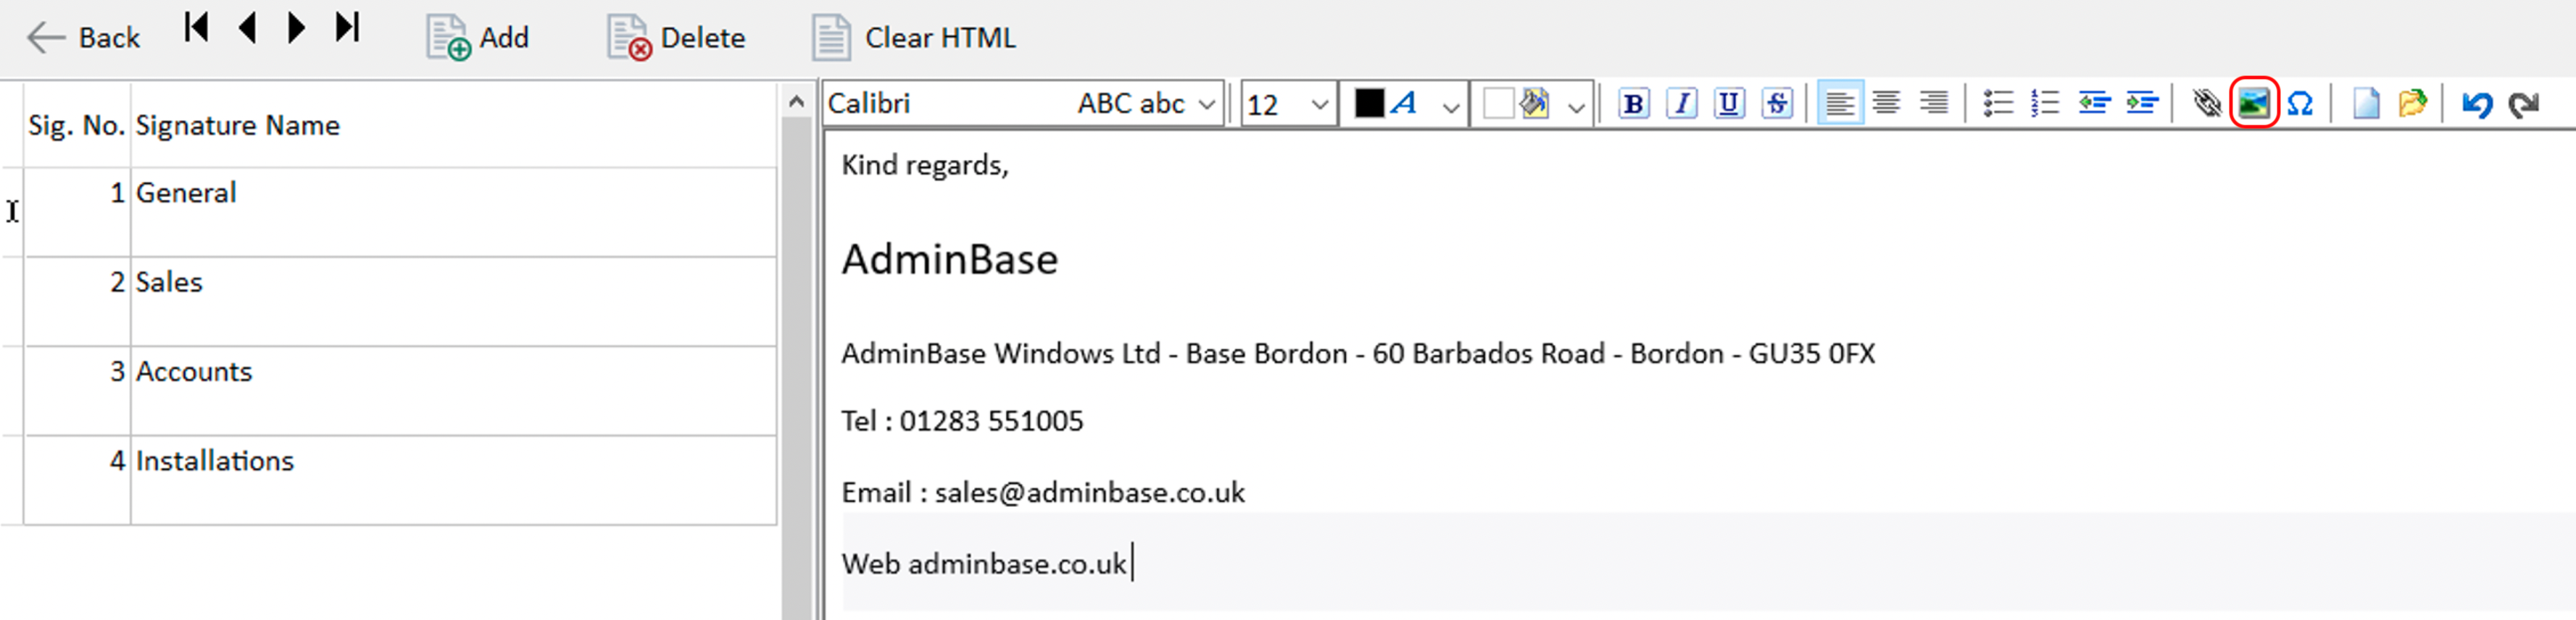
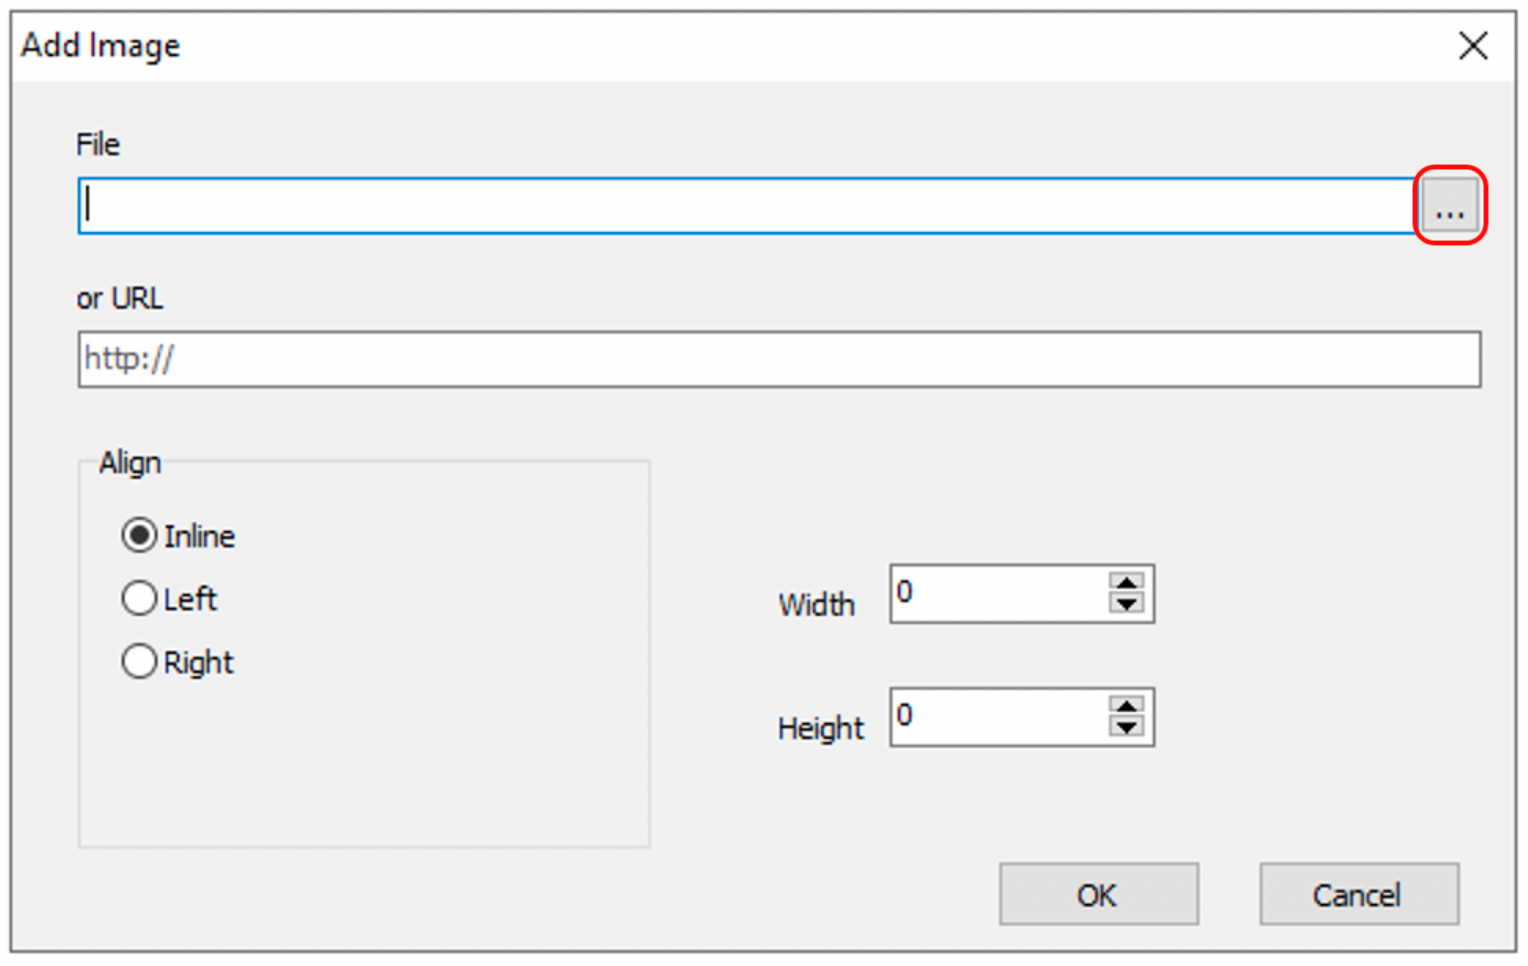
To do this, click the picture icon, either enter a URL for the image or using File you can upload the image to the server and select the image to be used for the signature. First select the folder you would like to upload the image to, then select the file and click the green tick button.
Create email templates to send to a Lead or Contract
You can edit the default email report that is sent with a Contract or Lead letter using a new HTML layout that can pull information from AdminBase fields.
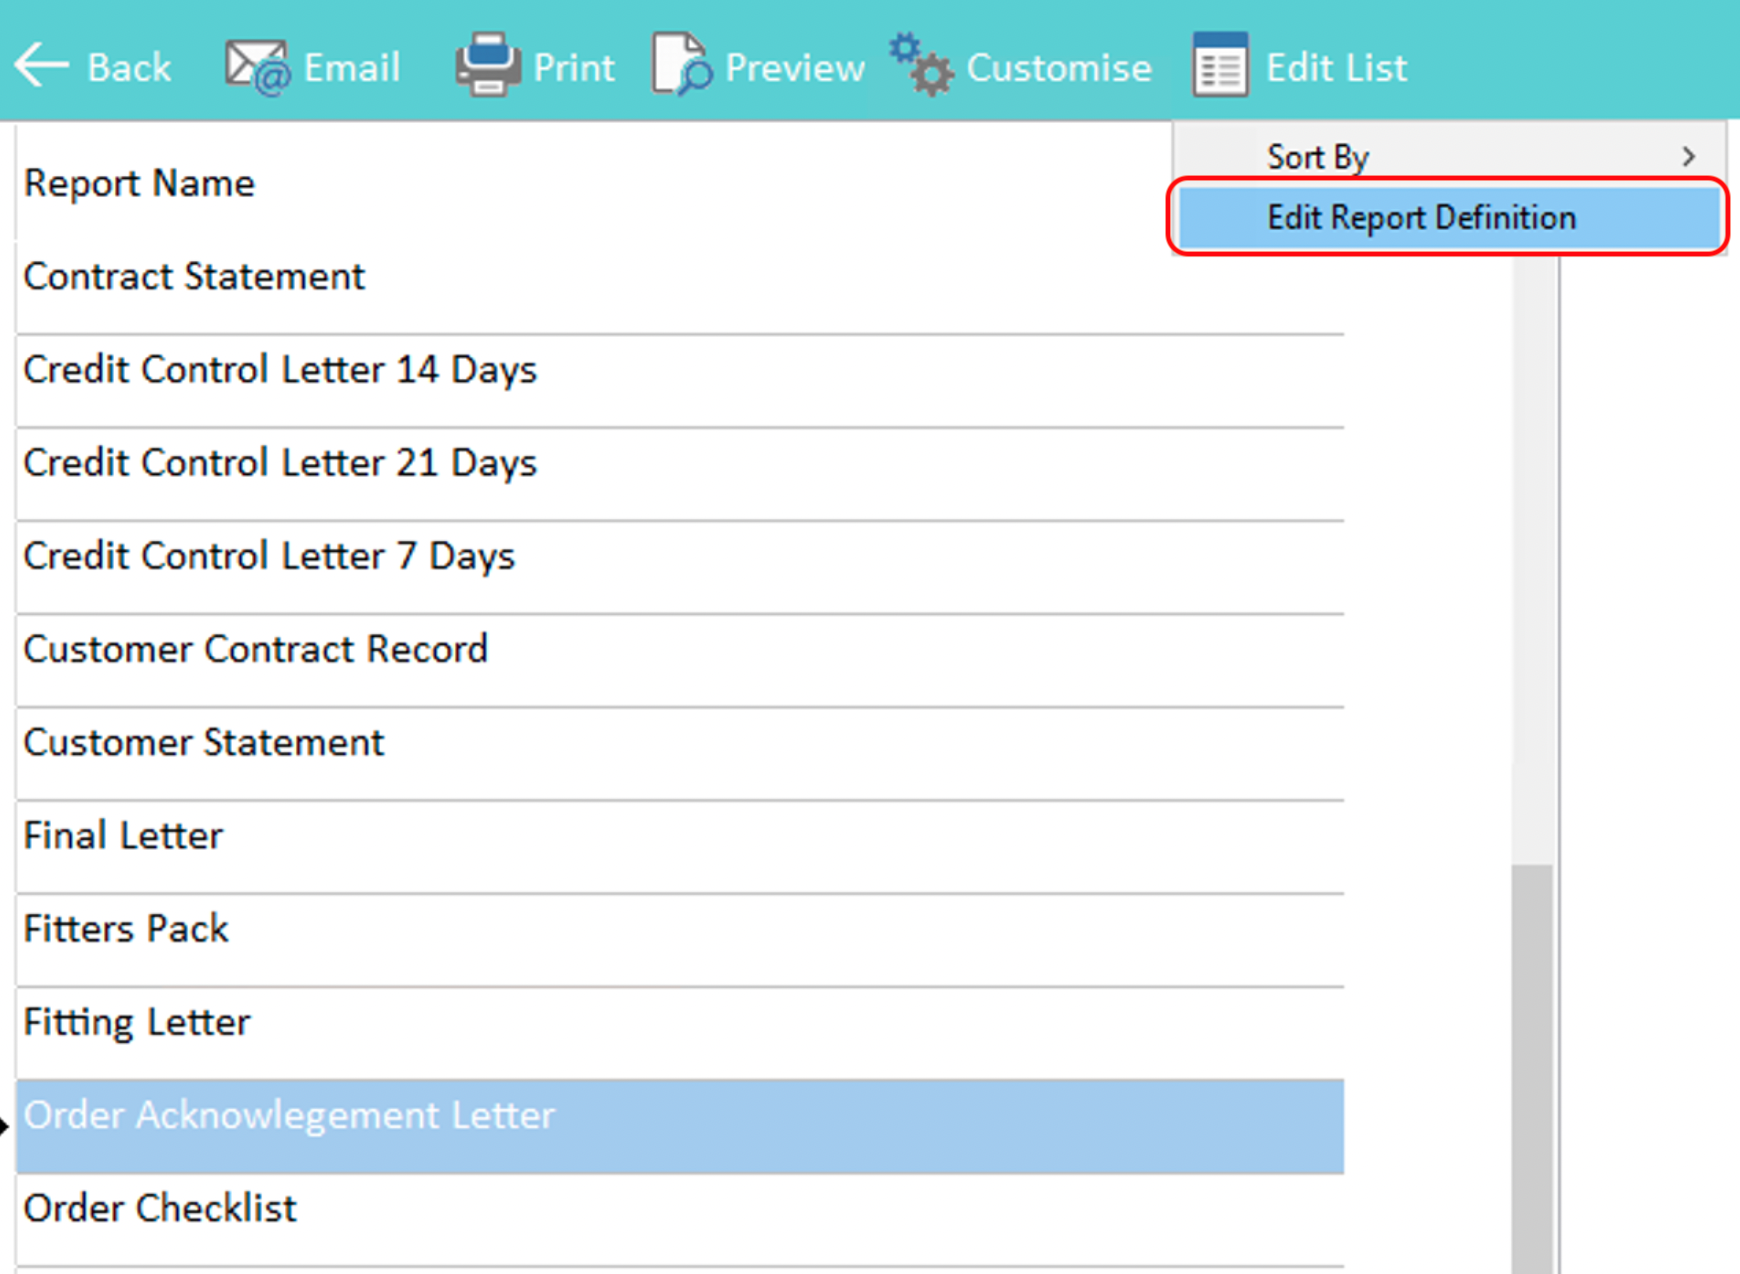
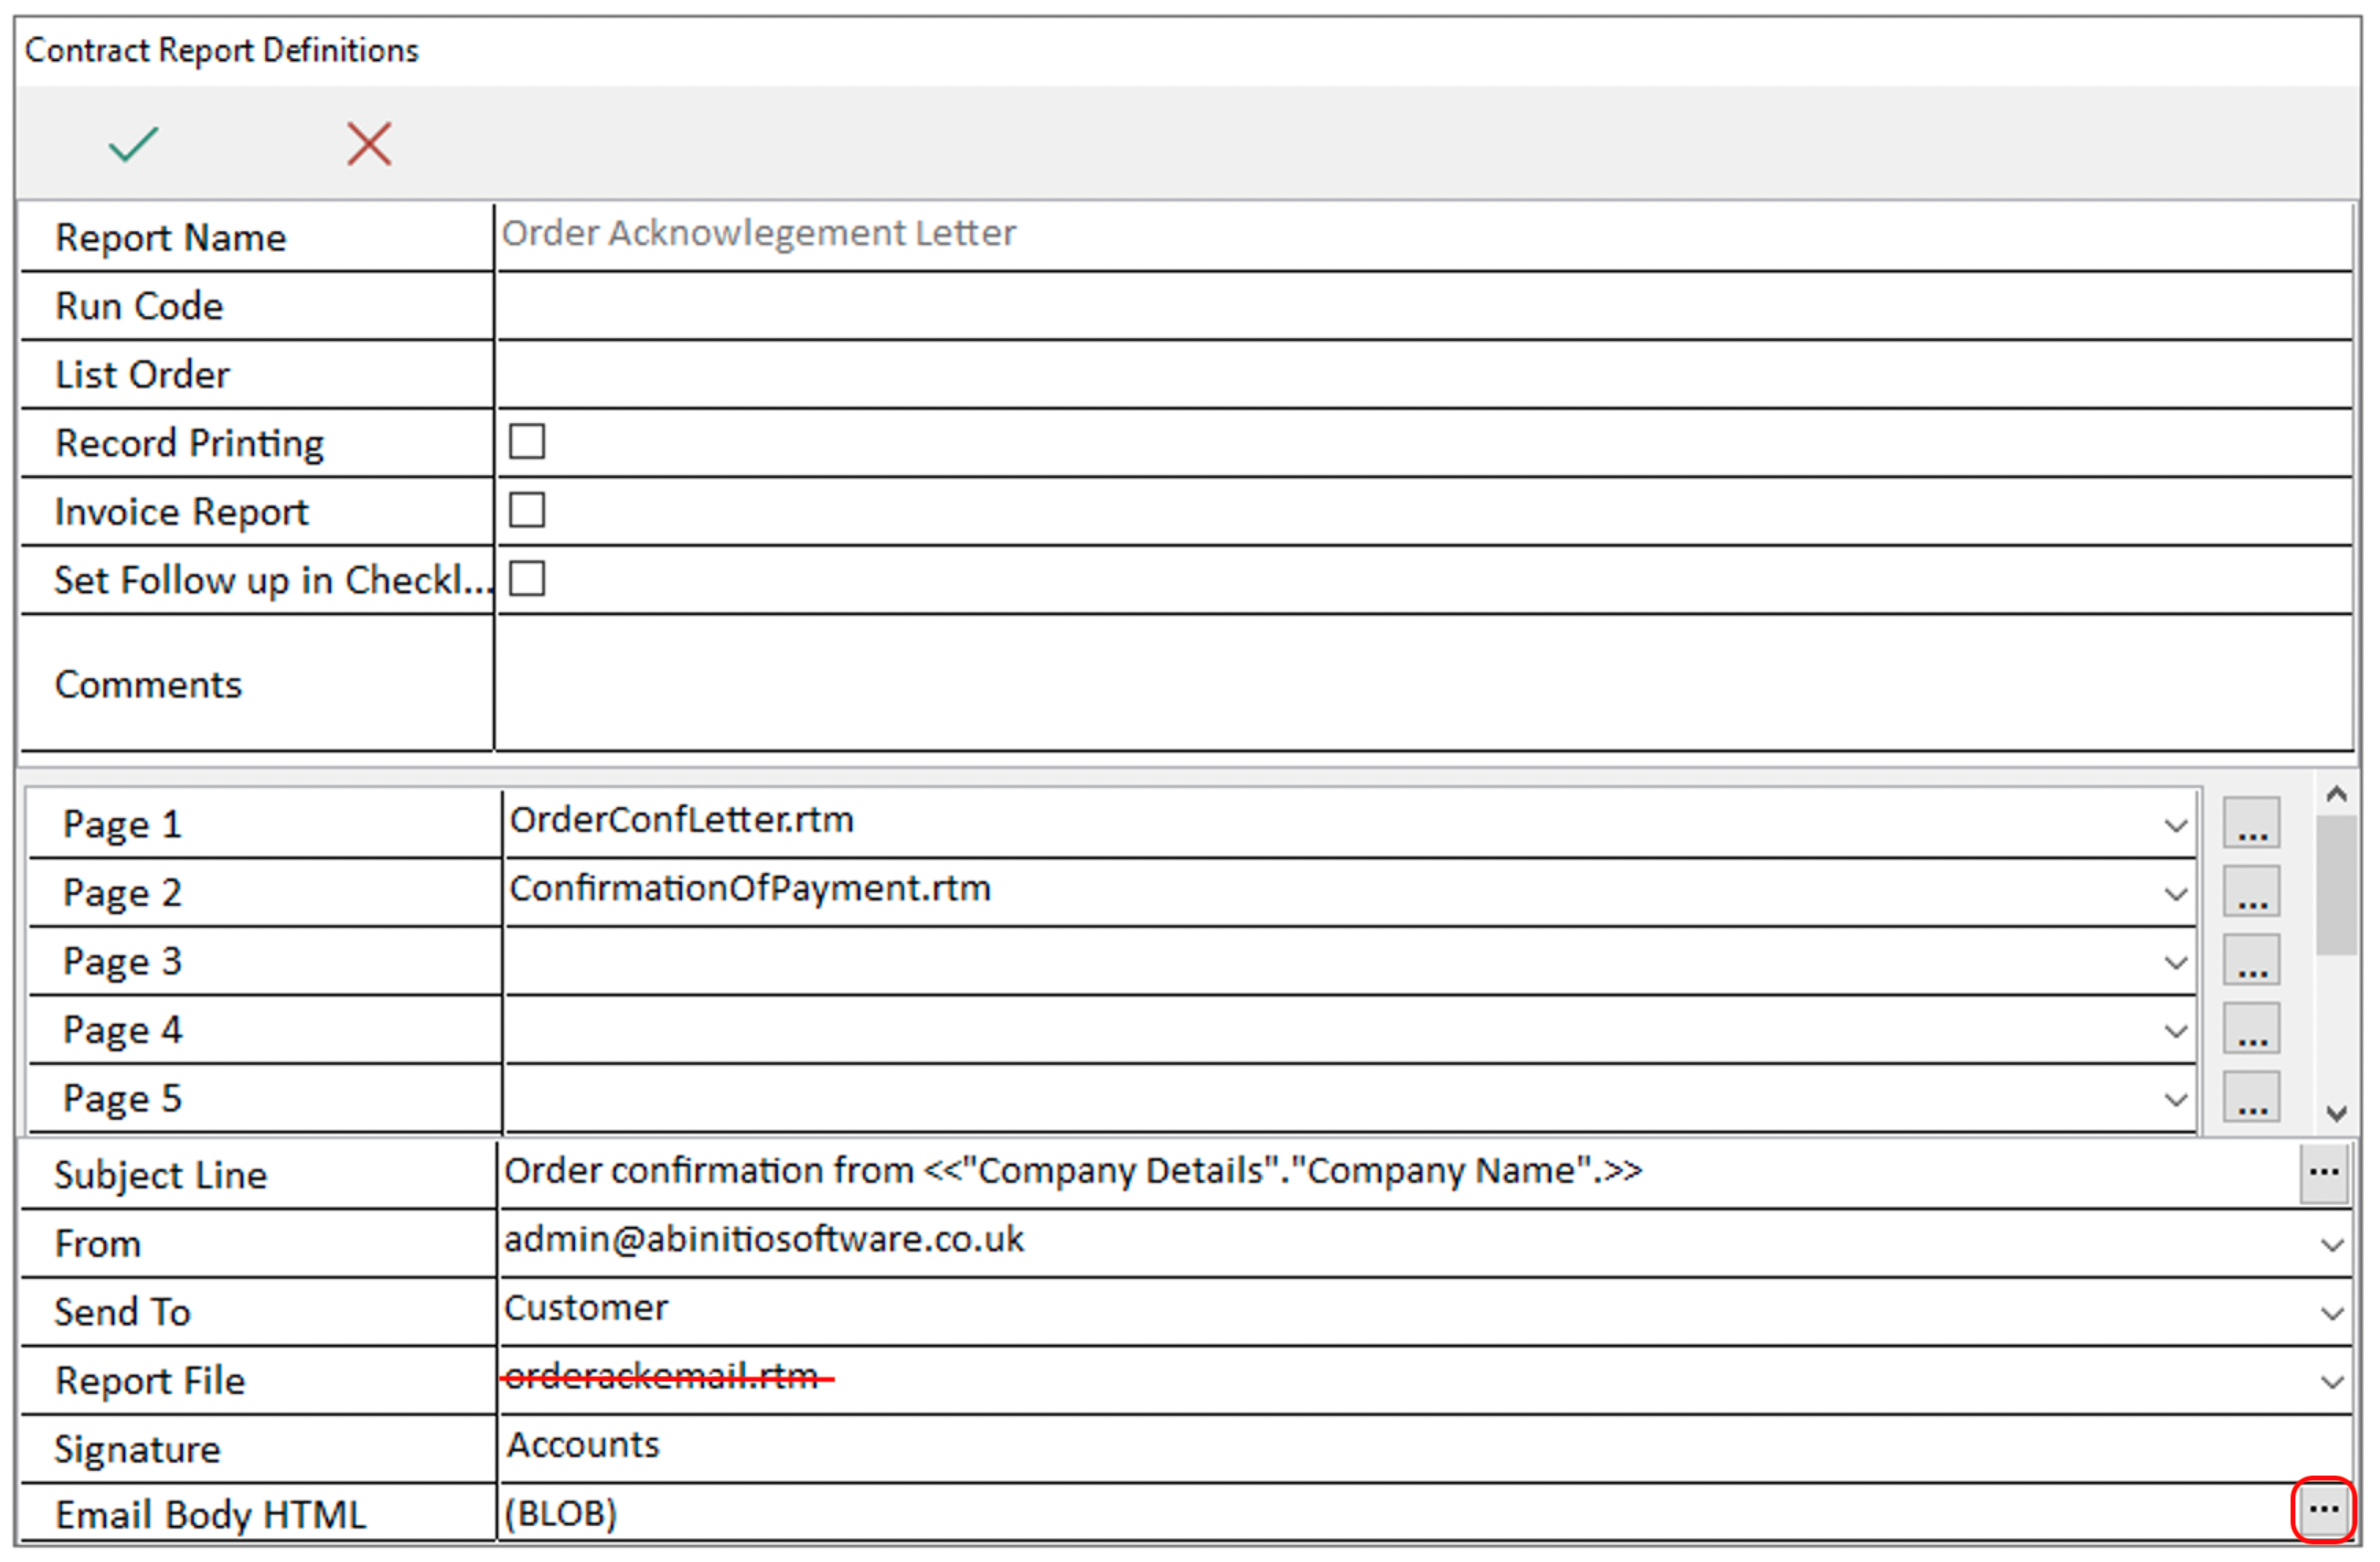
To do this, navigate to the reports page and select the report you would like to customize within a Lead or Contract record. Click Edit List → Edit Report Definition.
You can edit the default option for the email using the fields at the bottom of this box. If there is a file name in the Report File field, delete this out and then click on the 3 dots next to the Email Body HTML field.
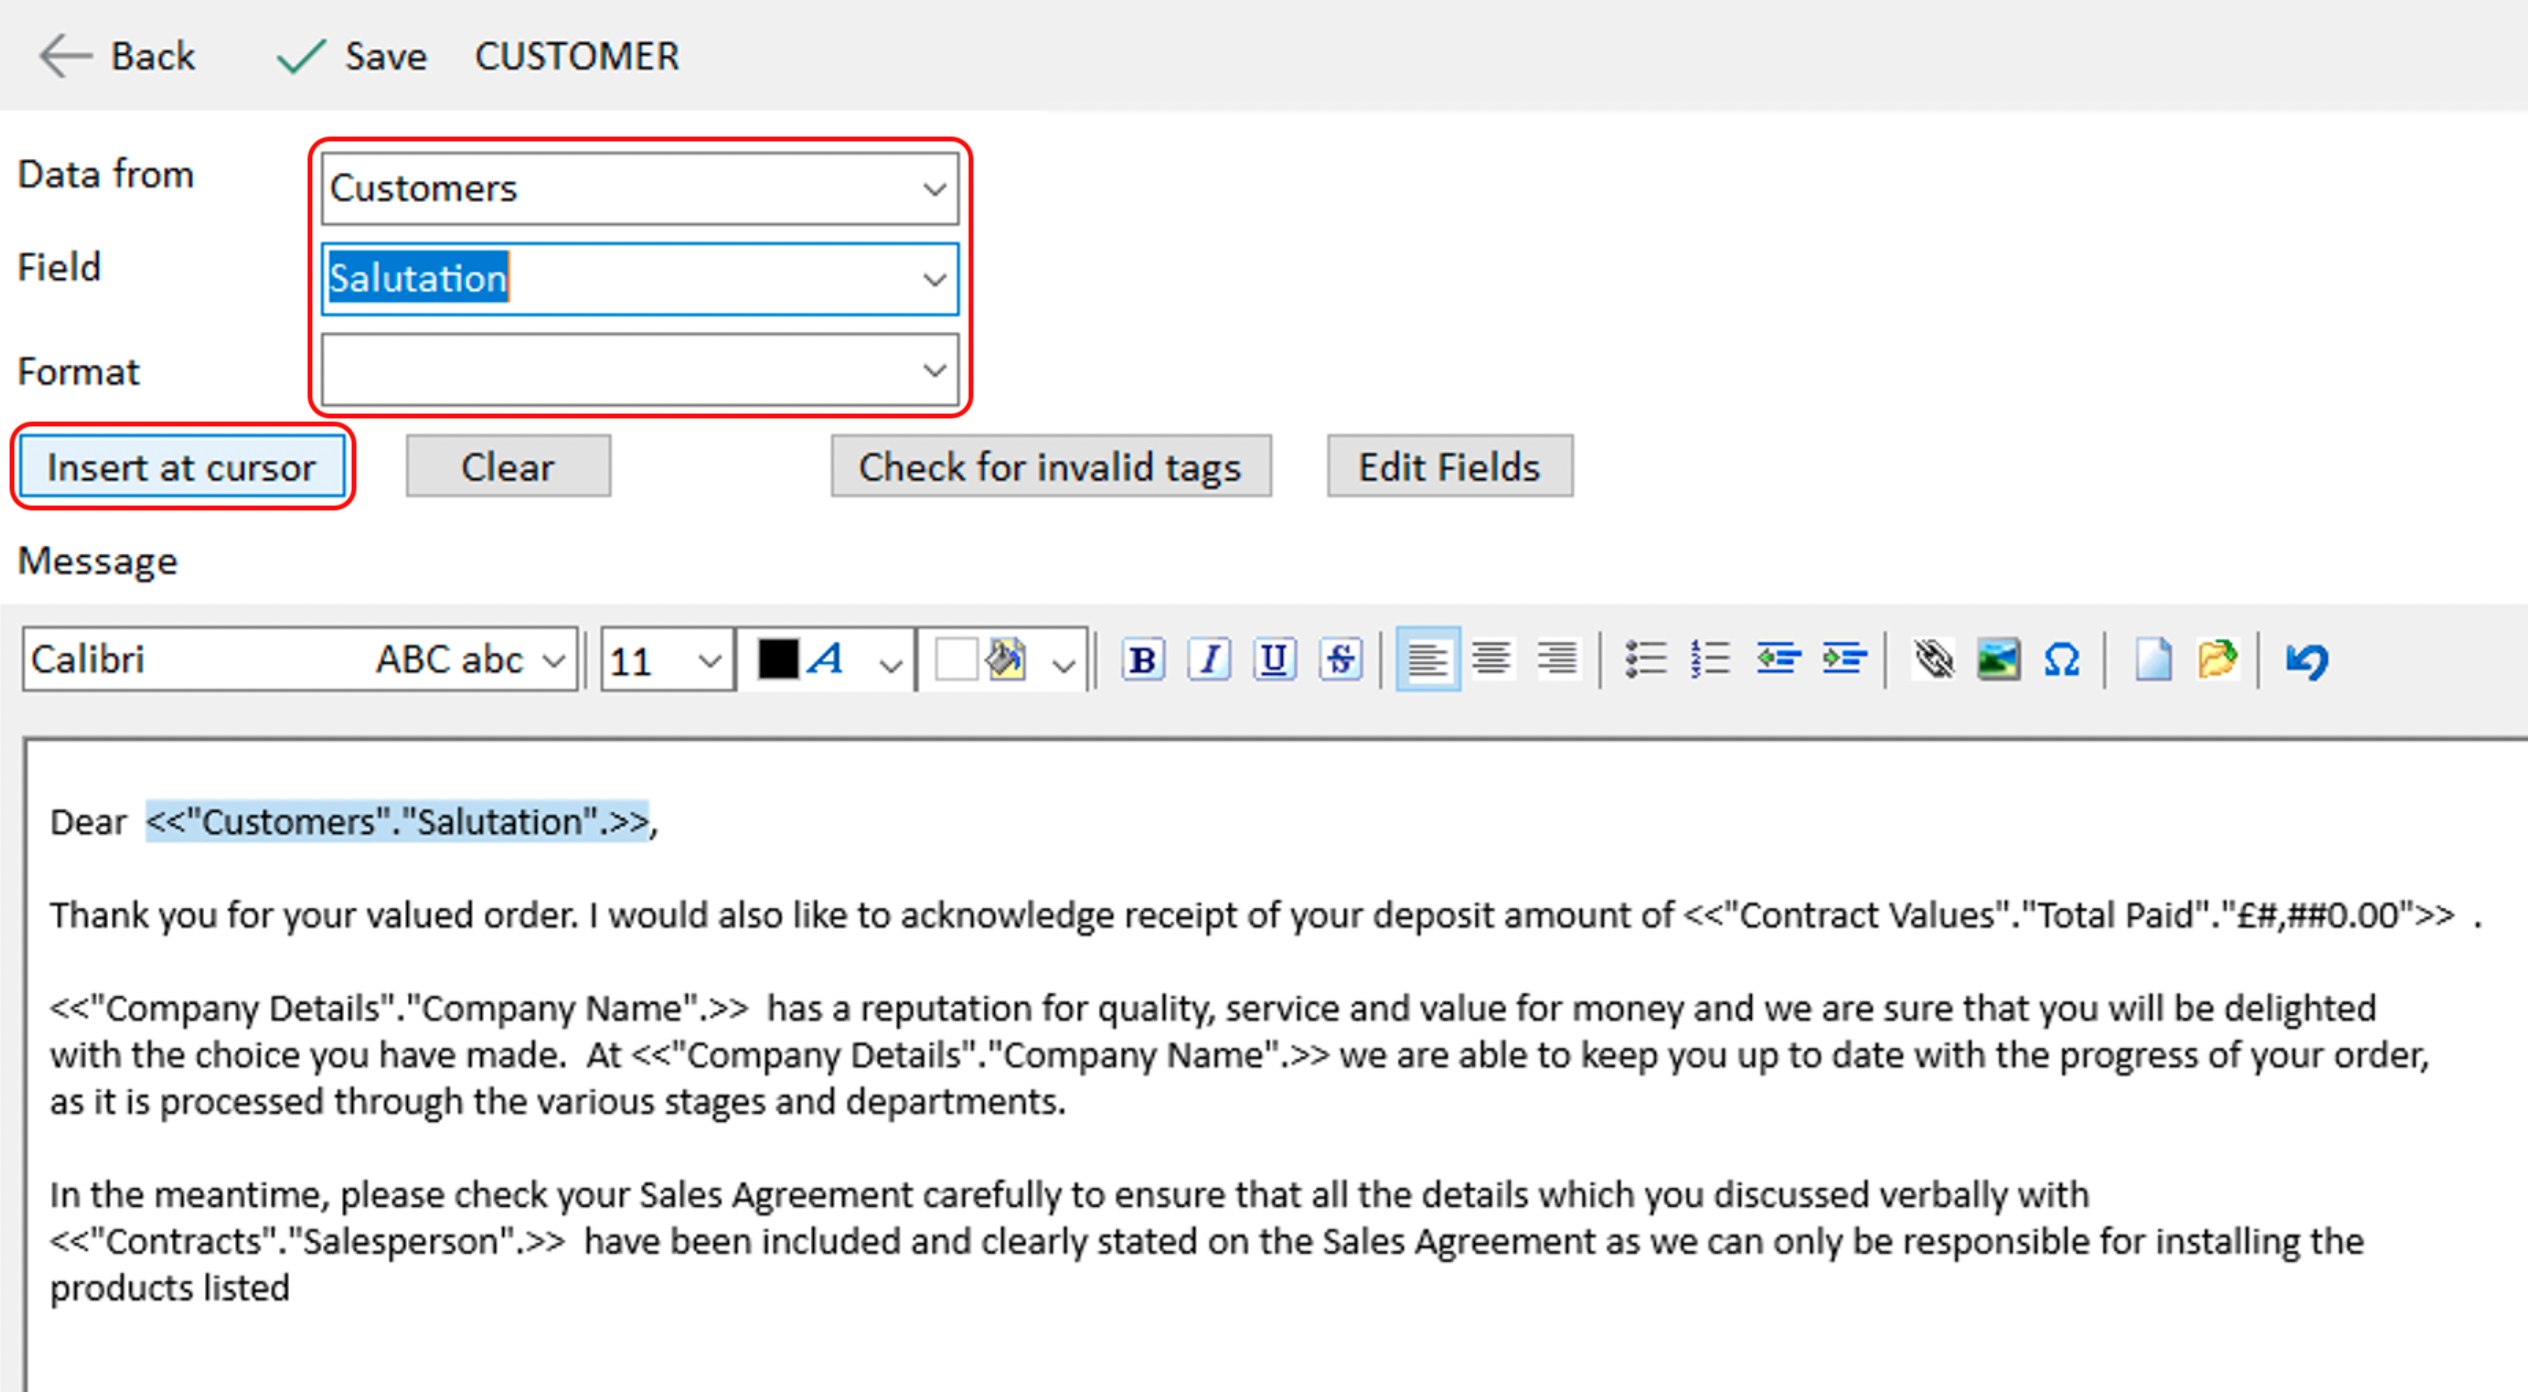
Here you can compose the default email to be used, and using the Data From, Field and Format dropdown boxes you can create tags that will automatically enter the information from Adminbase.
In the Data From dropdown you can select the AdminBase table where the information is stored. You can choose from Company Details, Contract Appointments, Contract Values, Contracts and Customers. You can then choose the relevant Field and if required, a Format (e.g. Date and Time formats). Then click Insert at cursor to add this tag to the message.
The same process can be use to create a default email Subject
Now when you email this letter, the body of the email will be the default message you just created, and is now editable within the email composer.
