Stock Module
AdminBase can help you manage stock, including recording ordered items, booking items out to a job or installation team, and returning unused items to stock.
From the Stock module, you can run reports to monitor inventory levels and track when items need reordering. The cost of items used from stock can also be added to a contract so that they appear on the job costing report.
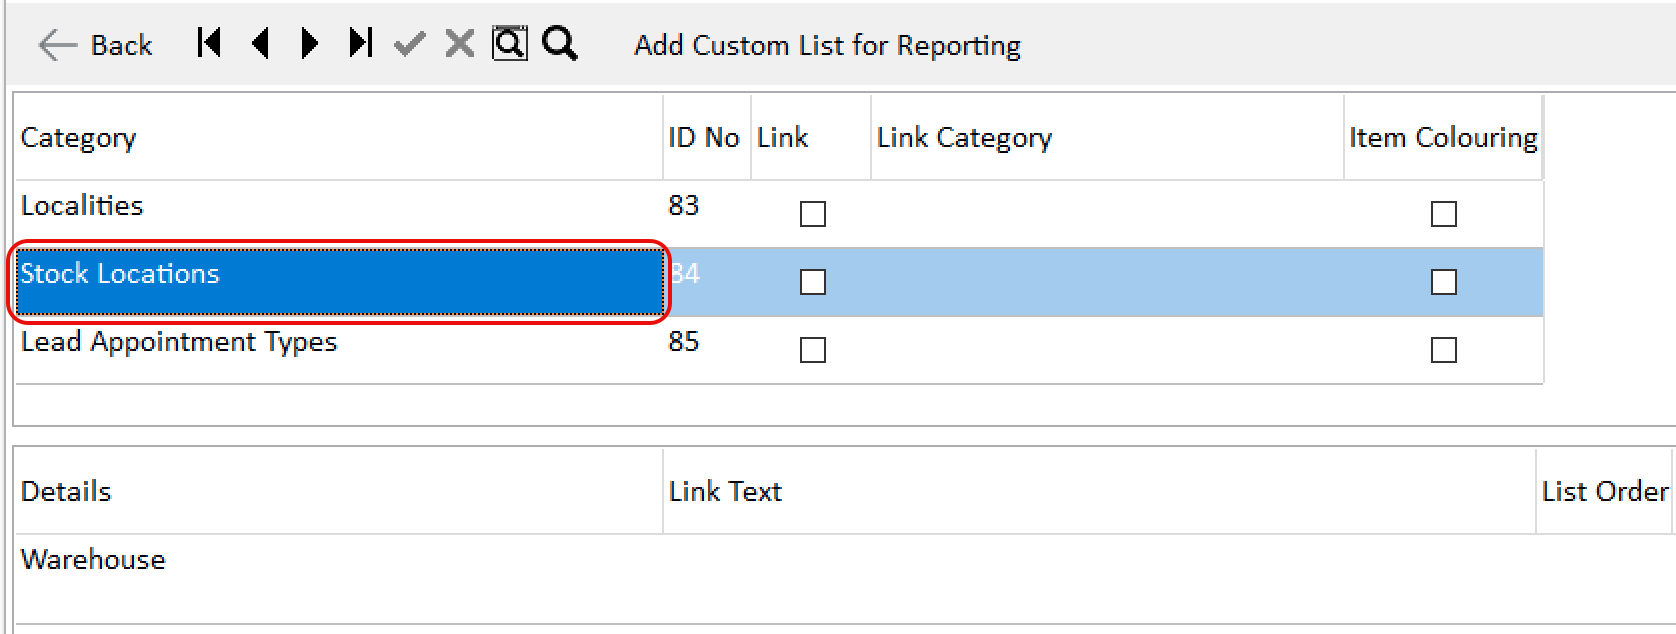
Creating Stock Locations
Before adding products, you need to create your stock locations. To do this, go to Settings → Other and find the Stock Locations field. Add the different locations where your stock is stored.
Adding Products to Stock
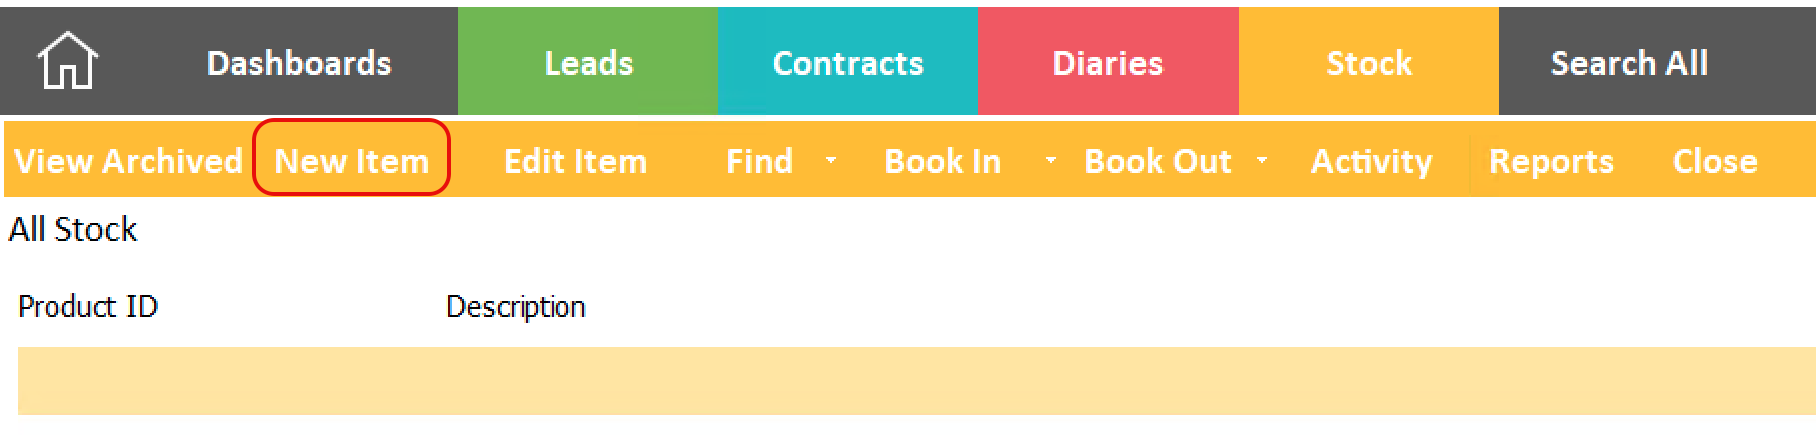
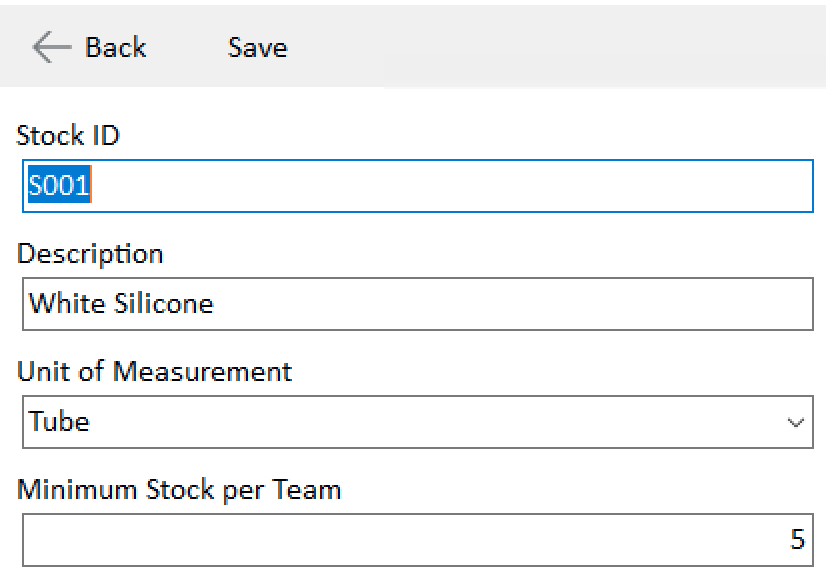
Once you have created the stock locations, you need to add the products you keep in stock. You can add a new item by clicking the New Item button and entering a Product ID, Product Description, and a Unit of Measurement(e.g., Tubes, Lengths, etc.). If you want to track when you need to reorder this product based on the number of installation teams you have, enter a Minimum Stock per Team.
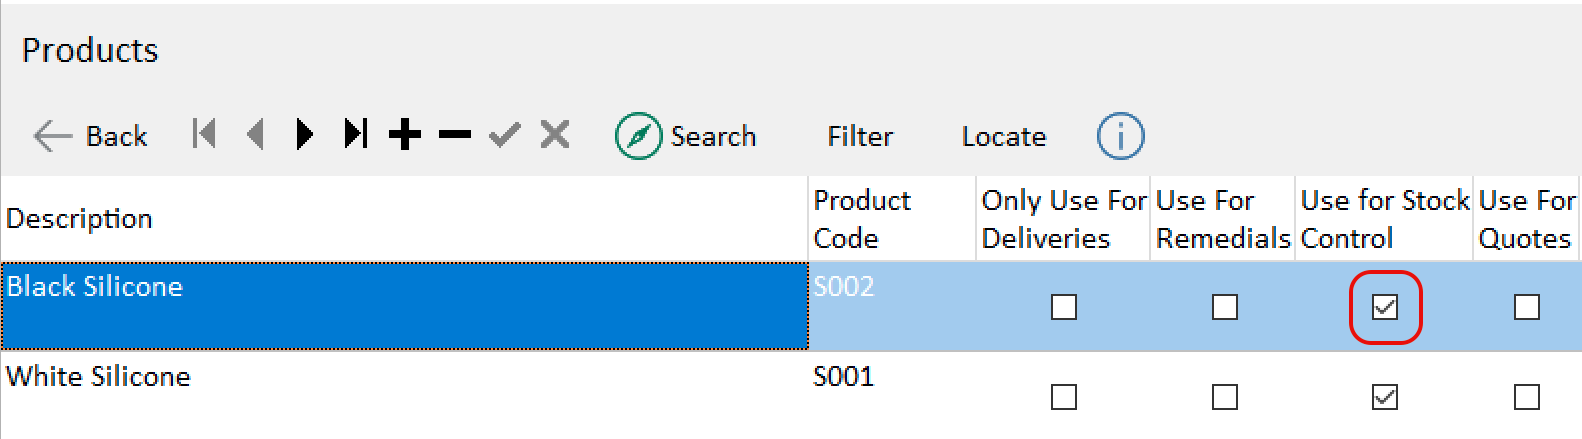
Alternatively, you can turn an item already listed in Settings → Products into a stock item by clicking the Use for Stock Control checkbox.
Once you have added the products, you can start booking in stock. Begin by booking in your opening stock balance, but the process depends on the number of stock locations you have.
Only One Stock Location
If you only have one stock location, you can click the Book In button and choose to book in a single item or as a batch. If you are using the Single Book In option, first click on the item you want to book in. With the Batch Book In option, you can record the same information for multiple items.
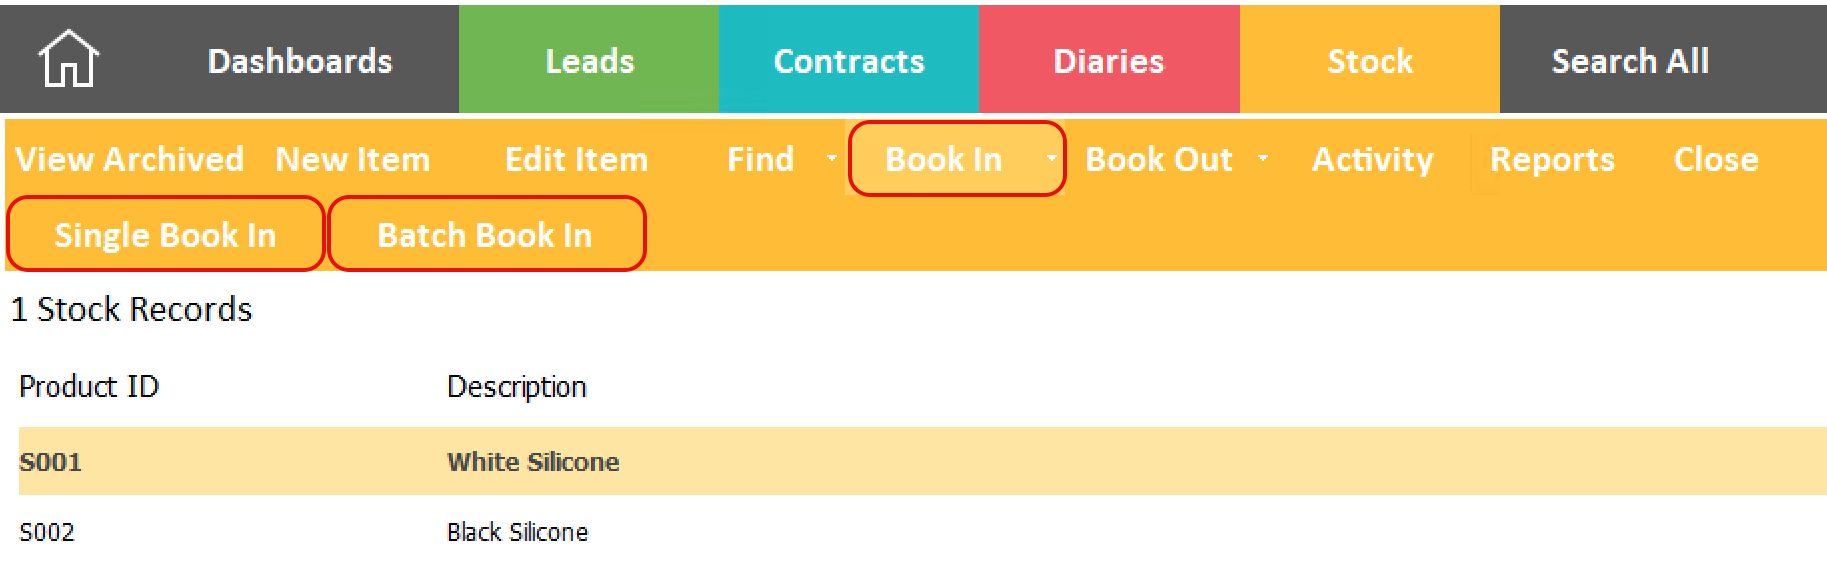
Next, enter the date received, a reference, the quantity, the supplier, and the price per item. This price will be used in the Job Costing report when you assign stock to a contract. Once you have created the necessary lines, click the Post Batch button.

More Than One Stock Location
If you have more than one stock location, you need to select the stock location before booking in or out. When you first select a location, there will be no products listed until stock has been booked into that location. You will need to use the Batch Book In button to enter your opening stock balance.
Booking Out Items
Once you have items in stock, they can be booked out to installation teams by clicking the Book Out button. This can be done for a single item or in a batch.
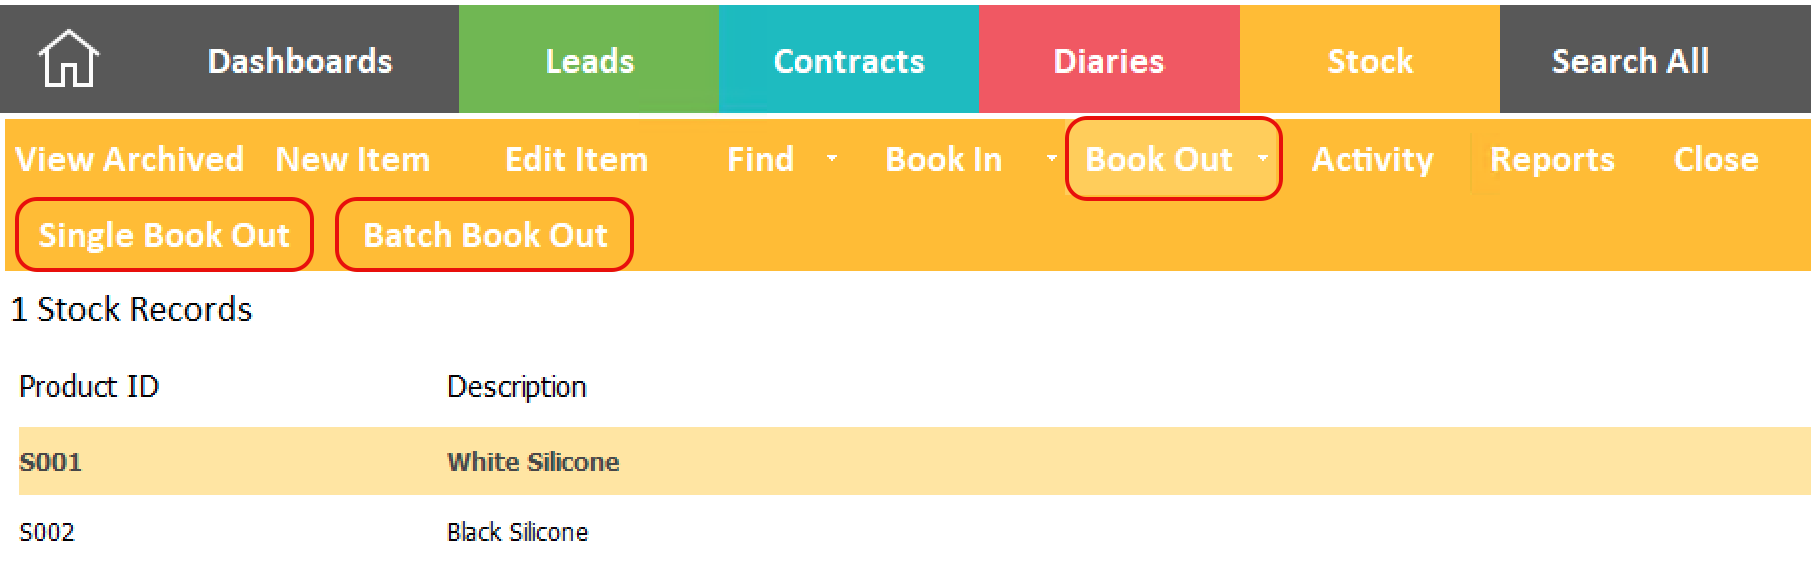
When booking out stock in a batch, you can select the product, the date, a reference, the quantity, and choose the contract and/or installation team to assign this stock to.

You can check the activity for an item of stock by double-clicking on the item or clicking the Activity button.

Returning items to stock
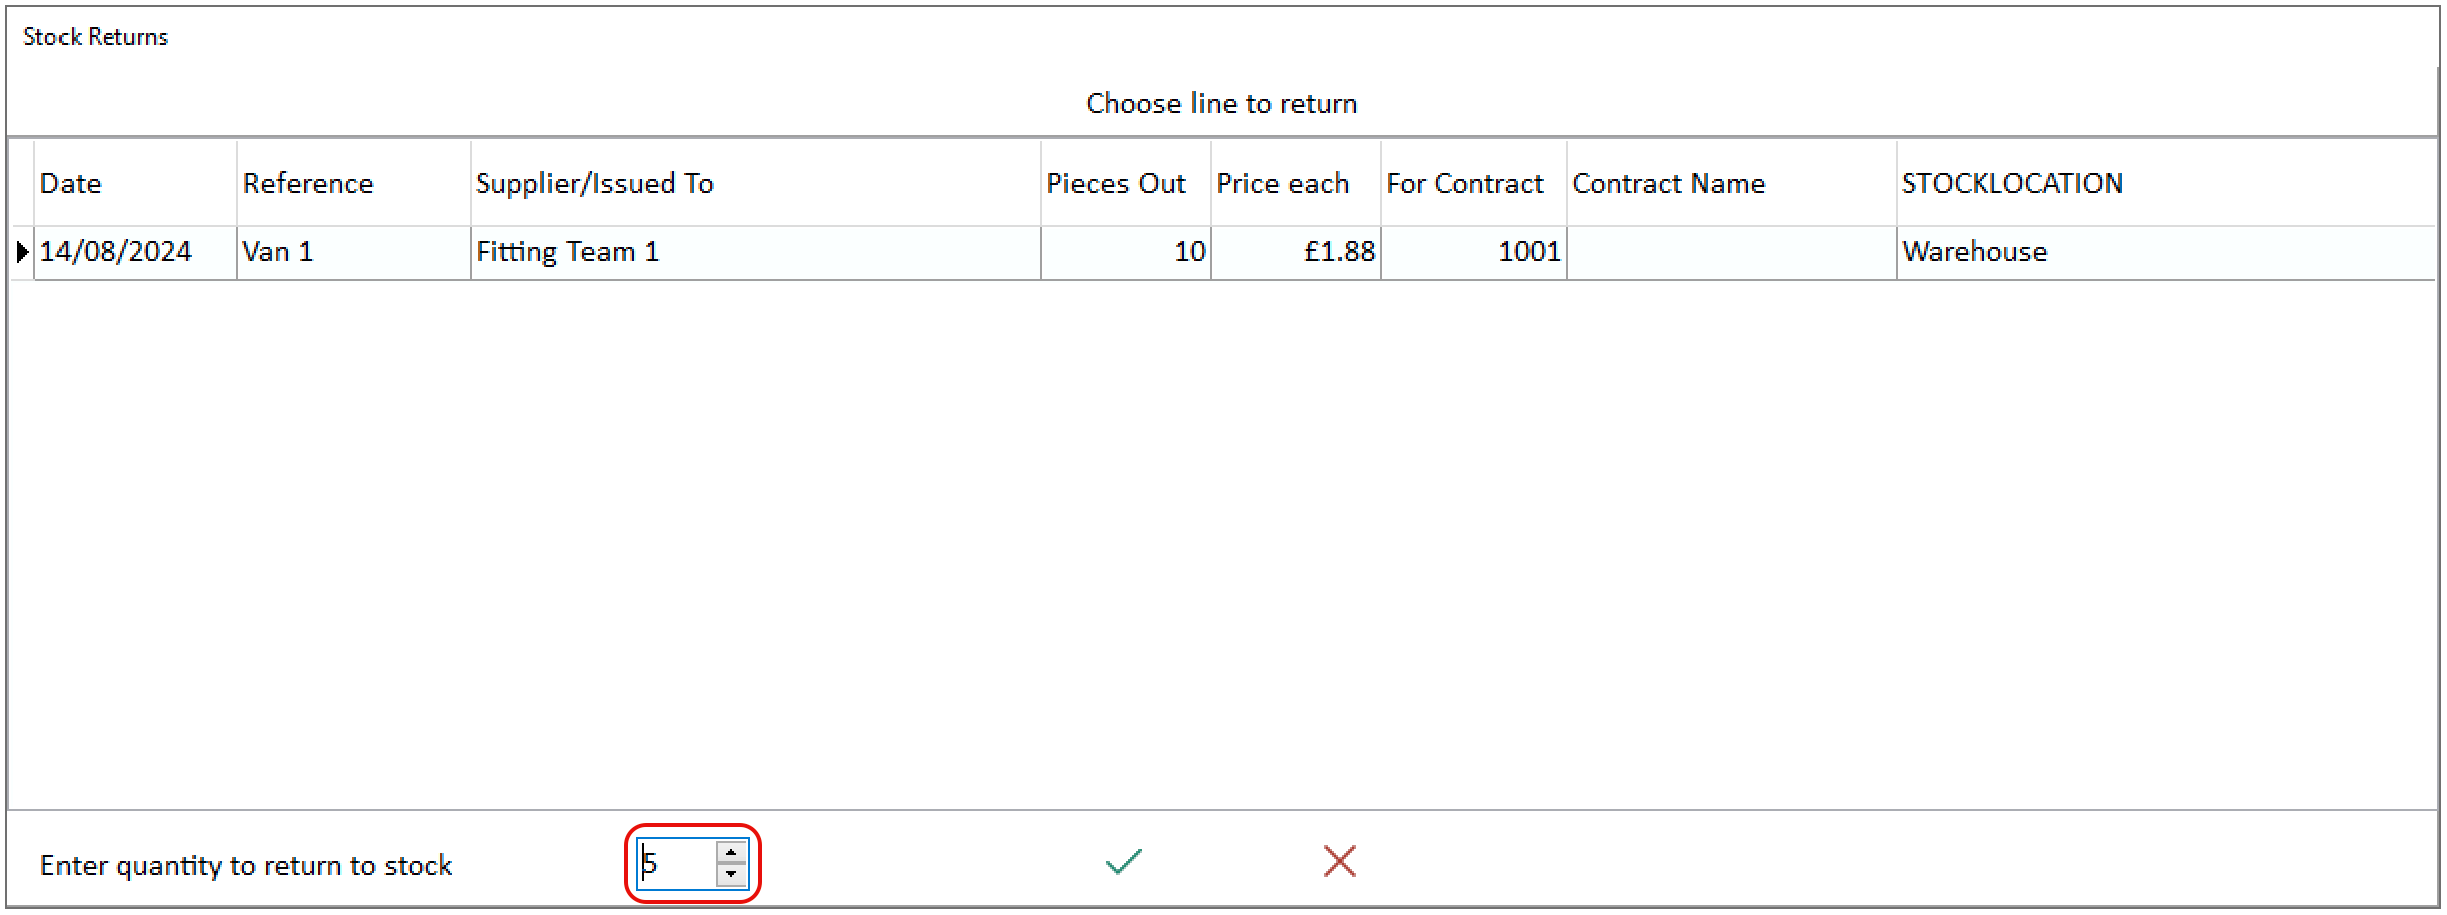
If an installation team returns items to stock, select the line in the activity screen and click the Return to Stock button. Here, you can enter the amount of stock being returned, and once submitted, the balance will reflect this.
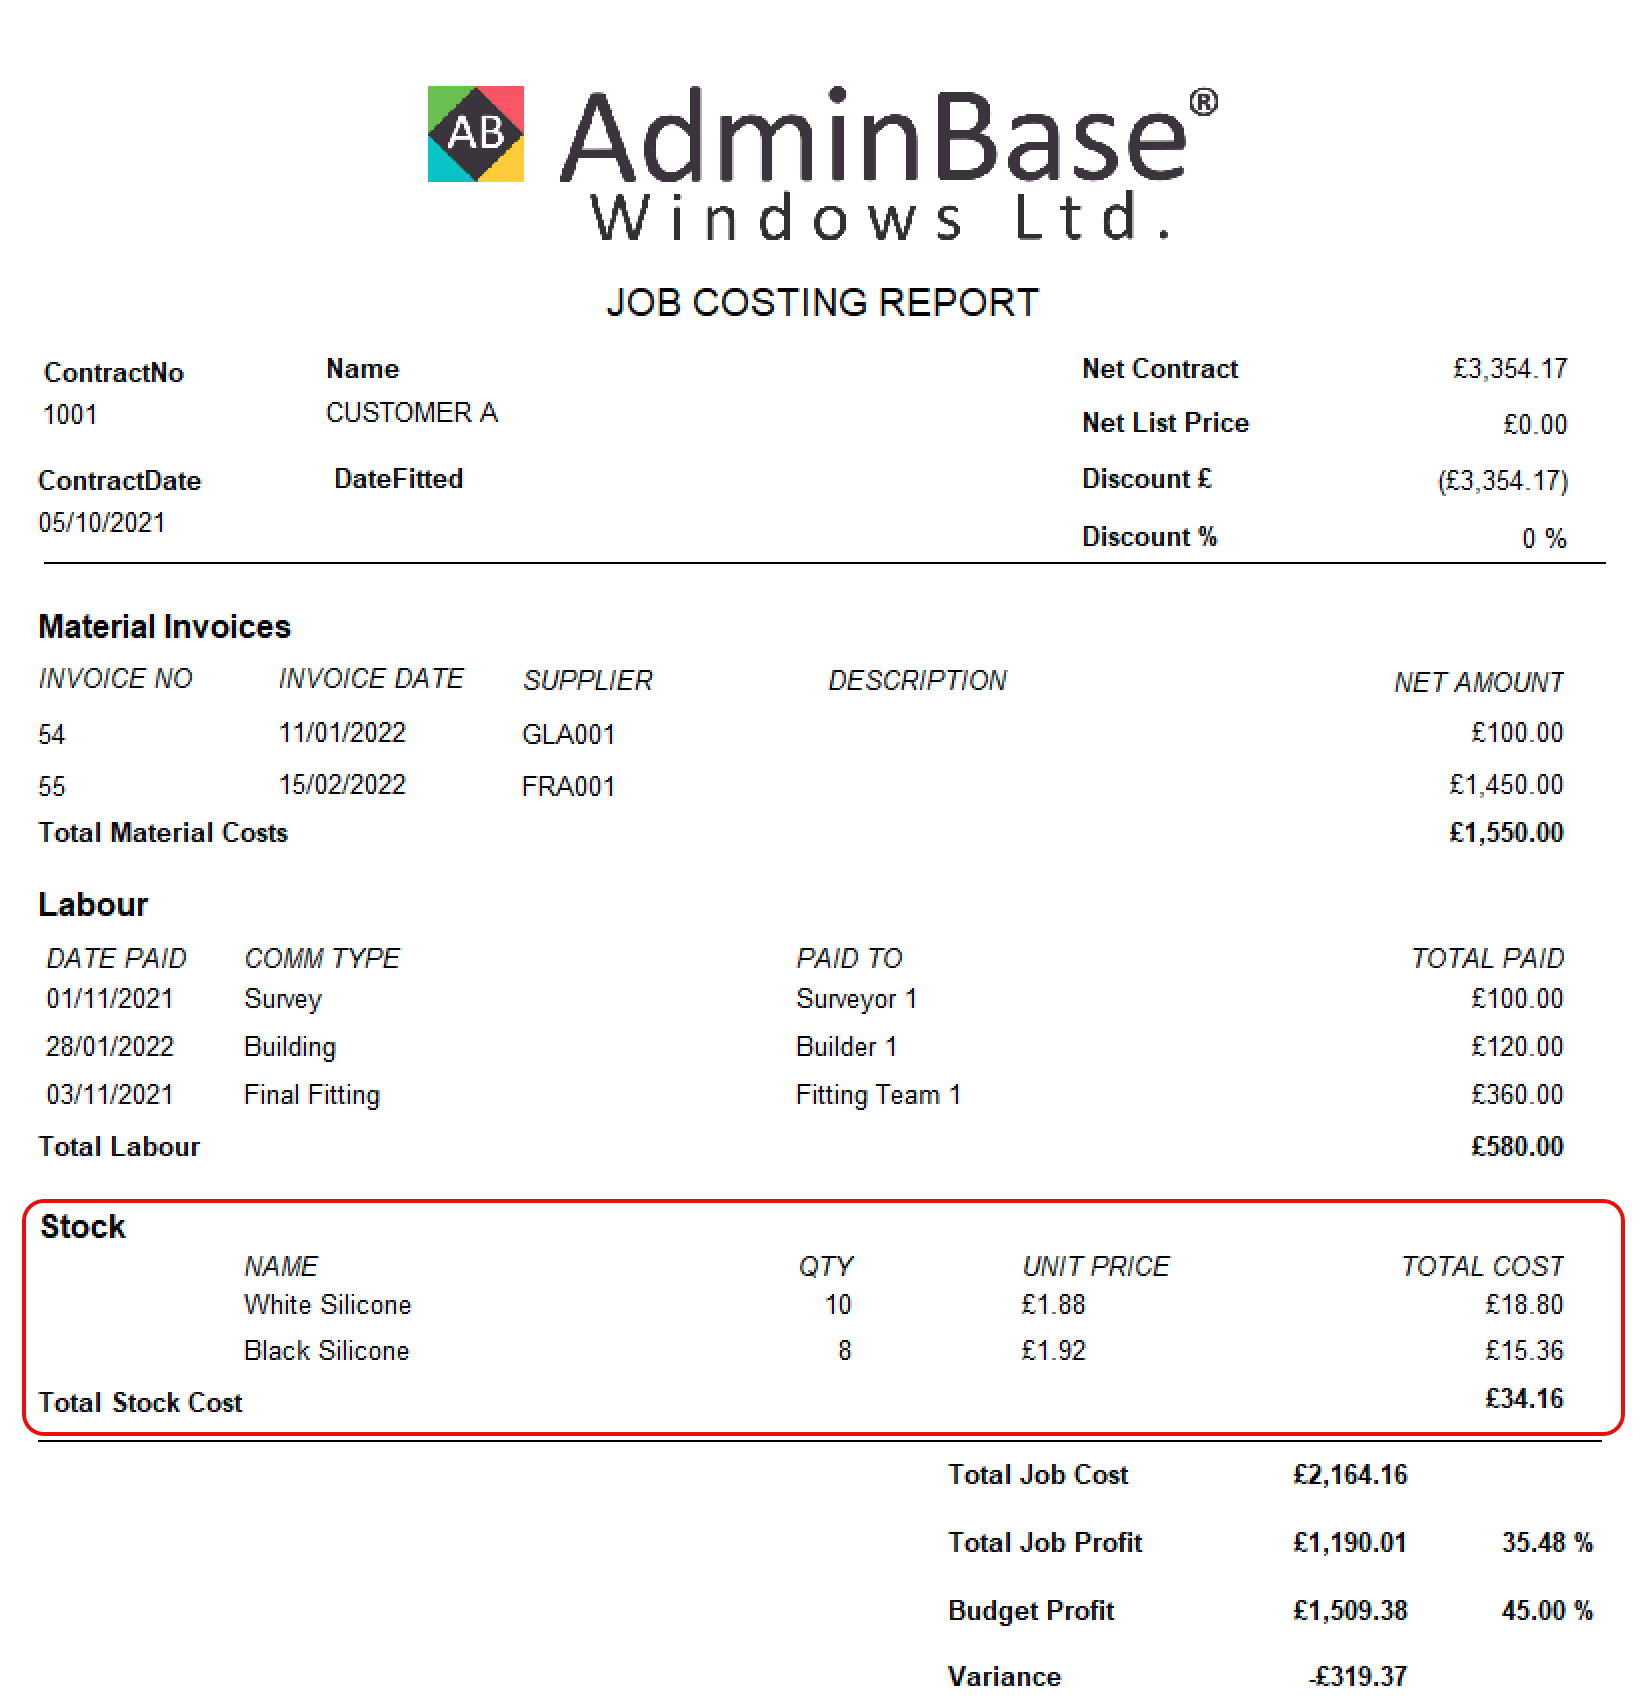
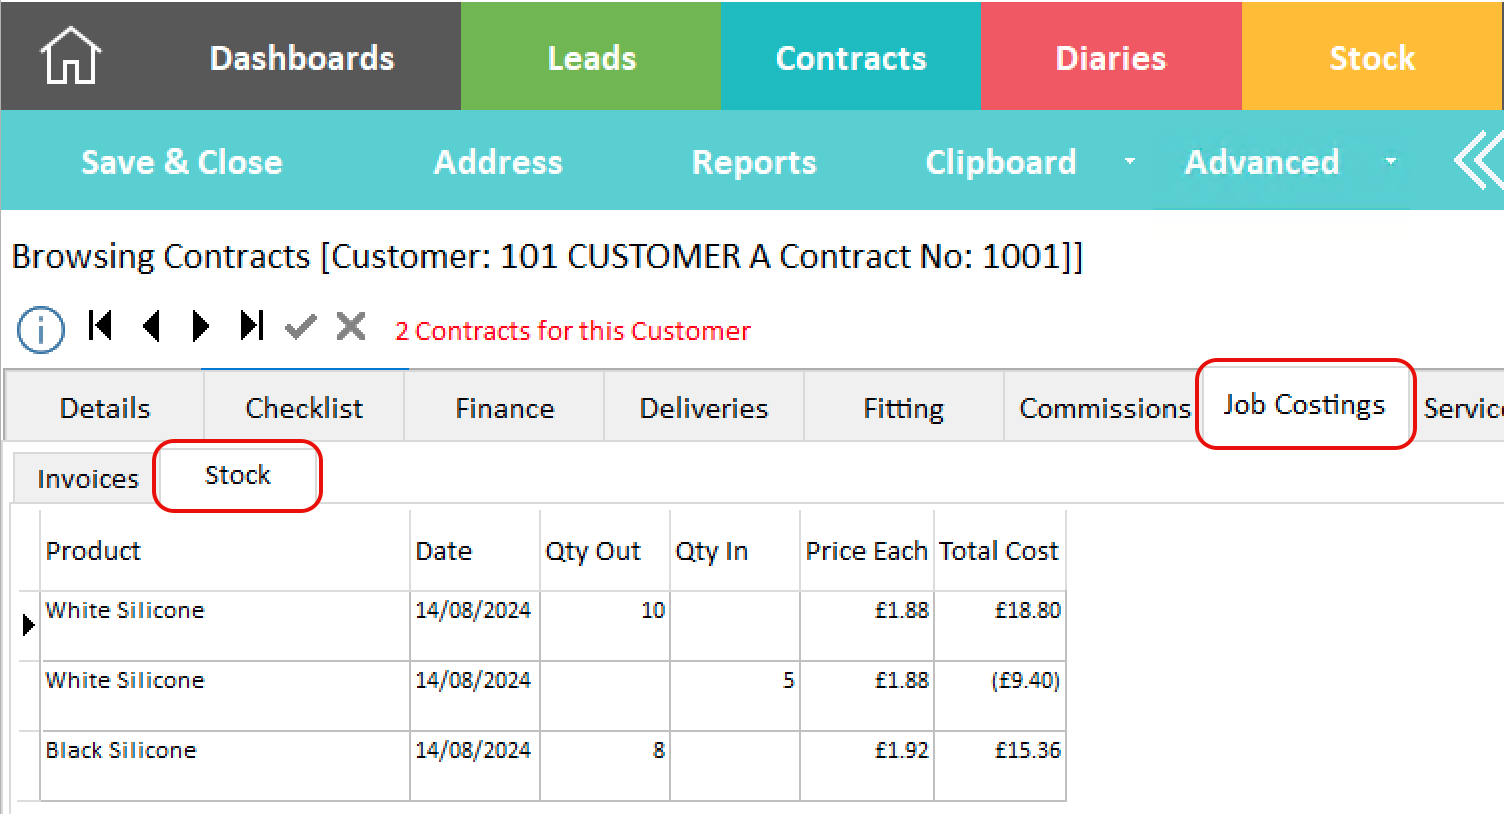
Job Costing
Any items that you book out and return to stock will then appear within the contract record. To view this, go to the Contract record → Job Costings and click on the Stock tab. Here, you can see any stock activity related to this contract.
This activity will also be reflected in the Job Costing Report. To access this, go to the Job Costing tab, click on Reports → Job Costing Report, and then click Print. Here, you will see the stock costs listed alongside the material and labor costs.