Dashboard Setup Tool
Before using this tool
Ask Ab Initio Support to take a copy of your data so that you can revert to it if you wish to abandon your changes.
Make sure no one else is using Contracts in AdminBase. Editing checklists or adding new contracts whilst using this tool could cause contracts to have incorrect / incomplete checklists.
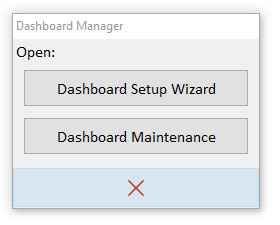
Go to Tools Dashboard Manager and select Dashboard Setup to access this tool
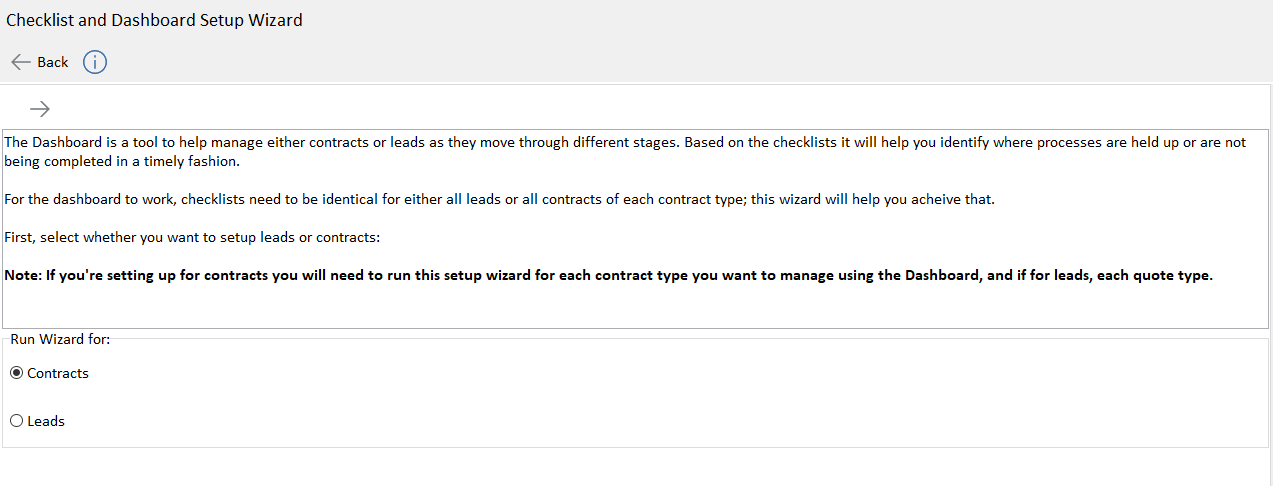
You will see this first screen explaining what this setup wizard will do. Choose Leads or Contracts and click the right arrow to go to the next page
This page explains the next steps you will be taking.
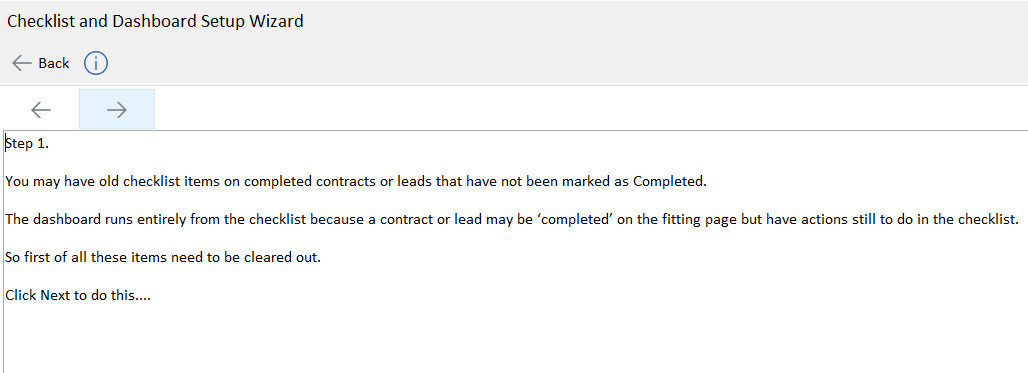
Click the arrow to go to Step 1
Step 1 - Clearing old checklist items on Contracts
Work through all steps for a single contract type at a time.
Choose the first contract type you are going to tidy up and then click View Completed Contracts with uncompleted items. You will then see a list of contracts with open checklists for the contract type you have chosen.
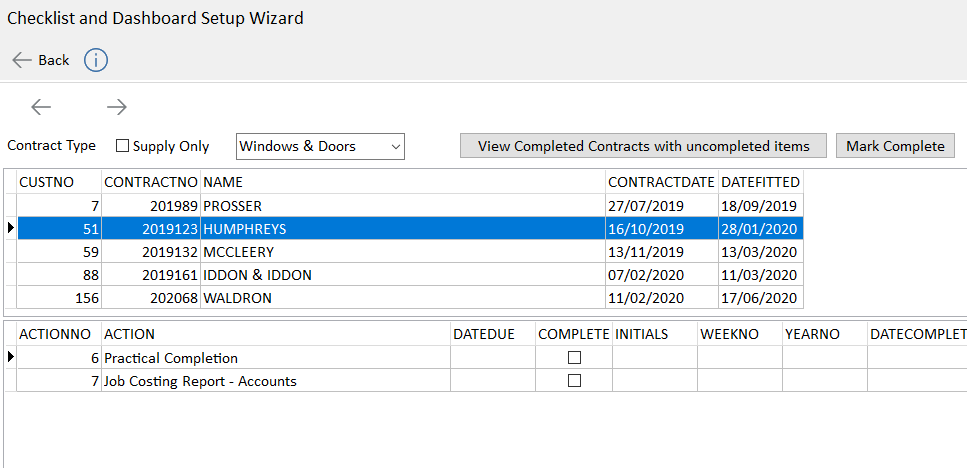
It may be a completed contract still has checklist items that need actioning. These will usually be items that relate to post installation actions eg sending a guarantee. So these will need to be left incomplete and we can update them in the next step.
At this stage check each contract in the list and make sure that everything that should be complete is ticked complete so that anything left incomplete genuinely has actions that will still be taken.
If you do not have post installation actions and all your completed contracts should have completed contracts you can bulk complete them all using the Mark Complete button.
If you want to complete just one contract at a time use the Complete this Contract button.
Alternatively you can selectively complete individual items starting from the top of the list - you must tick items in order.
When you are satisfied that you have completed everything that needs to be you can move on to the next step with the right arrow. The next page explains Step 2.
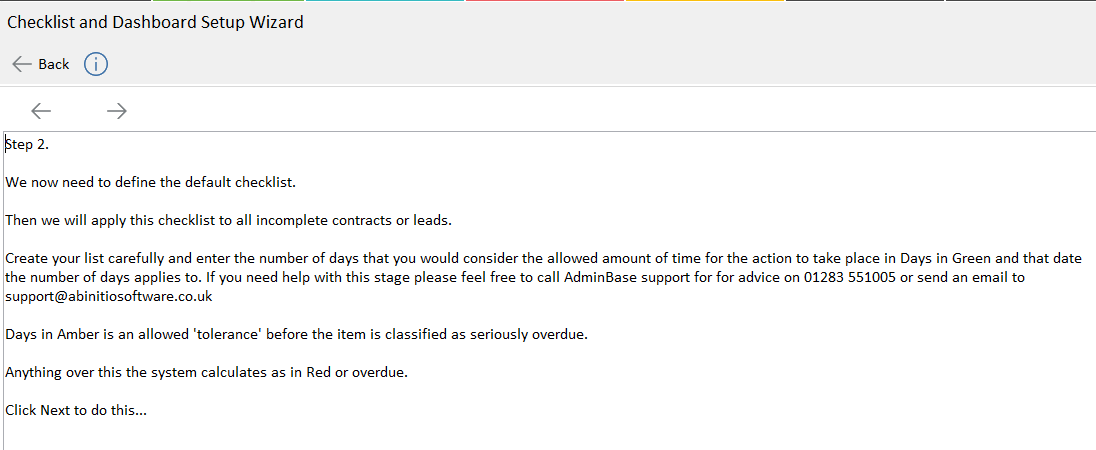
Step 2 - Define the default checklist
It is possible to do this in this tool or in the Company Settings. In company settings you can set up notifications to go out automatically as items are ticked off the checklist.
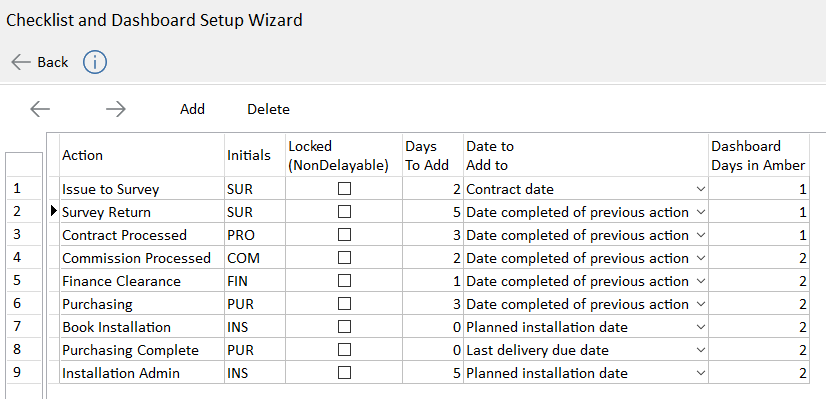
You can easily rearrange your list here by dragging the numbers on the left hand side into the desired position.
You can use the Add and Delete buttons to amend the list. Make sue each entry in the list has a Days to Add, Date to Add to and a Days in Amber setting.
Once you are happy with your list click the right arrow to move to Step 3.
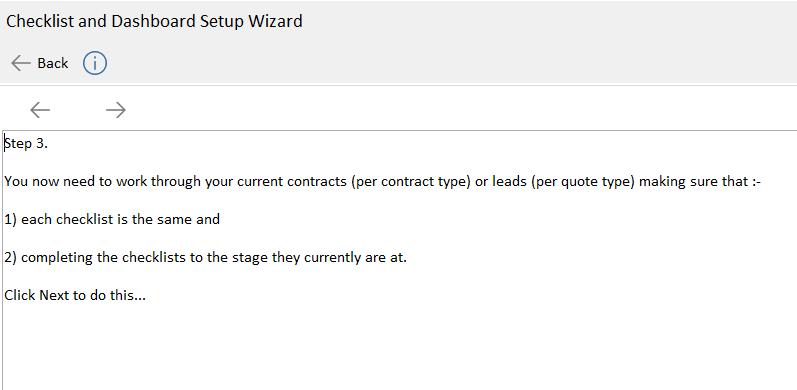
Step 3 - Synchronise the current contracts checklists
Each contracts checklist must now be looked at individually. The contracts will be at different points of the checklist.
So you will now read in your new default checklist to each contract.
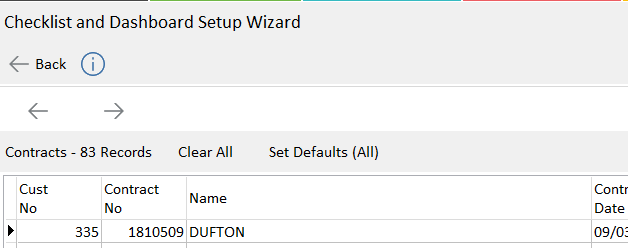
You can do this one by one or you can set the default for all the contracts.
To do one by one wok down the contract list clicking Set Default for the contract

Or to read in the Default for all the contracts in the list click Set Defaults (All)
Whichever you choose it is important to say yes to the next message.
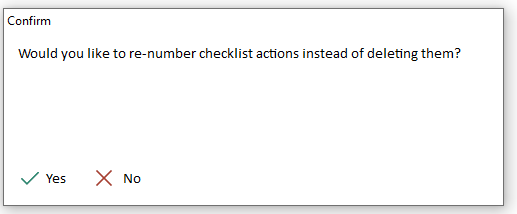
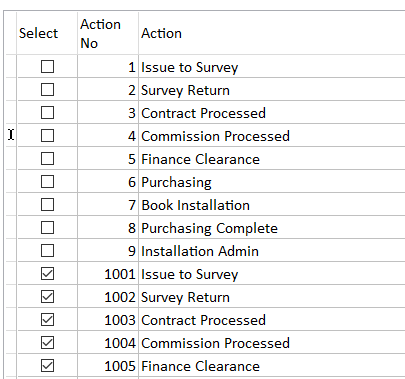
This creates a copy of the previous checklist numbered from 1000 onwards. You can then use this copied list to complete the new default checklist to the correct point for each contract.
If you have no previous checklist to work through then you can safely answer No to this question.
Once you are satisfied the checklist is correct for the contracts you can click Remove Copy
Once you have done this for all of the contracts click the right arrow and then Finish and Close
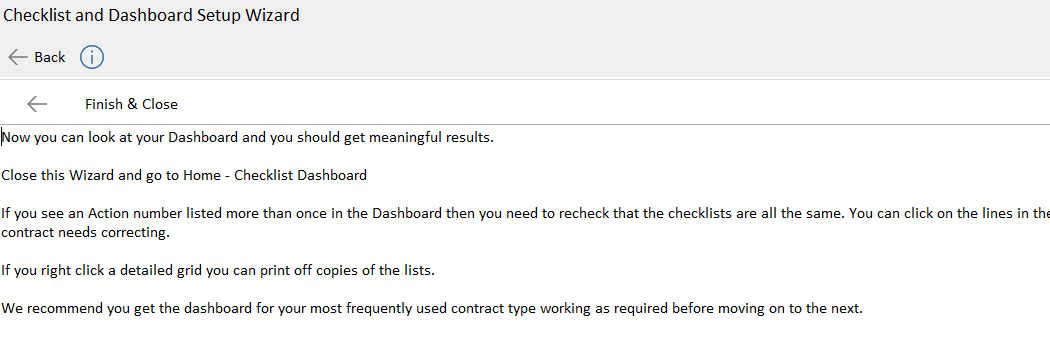
Now go to the Home screen and choose Contract Dashboard. The choose the contract type that you have just worked on. Your Dashboard should now be meaningful.
Look at the Dashboard Instructions help page for information on any further troubleshooting or speak to AdminBase support team on 01283 551005.
Repeat this process for each contract type you wish to have a Dashboard for.