Zapier Integration - Customer Setup Instructions
Login or create an account at Zapier.com and use the AdminBase integration to create a Zap.
Zapier integration is currently in public beta and so may be unstable. To join the beta please use the following link:-
https://zapier.com/developer/public-invite/198207/997f0ca7f01be8bacc9565b19dbafae0/
This link will take you to Zapier, you may then need to login. Once logged in you will be able to find AdminBase in your list of apps only inside a Zap.

You have the option to create a trigger (for when data is sent from AdminBase) or an action (for when data is sent to AdminBase and a lead is created). Creating a trigger or an action requires a login. This is used for finer grain control on who can setup Zaps. This login provides the credentials required to Zapier's systems.
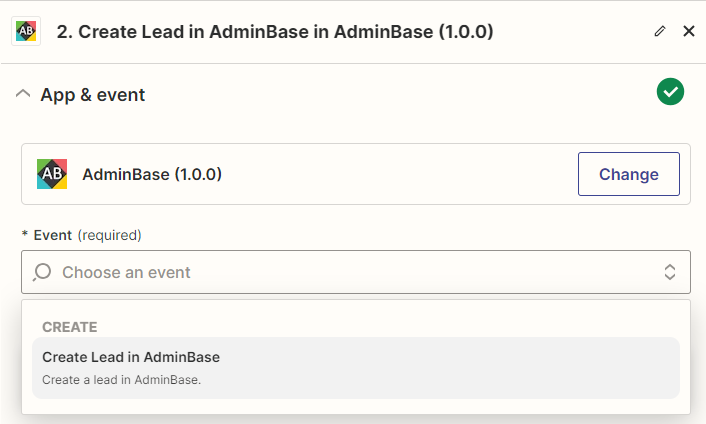
Creating an Action - Data is sent to AdminBase and a lead is created
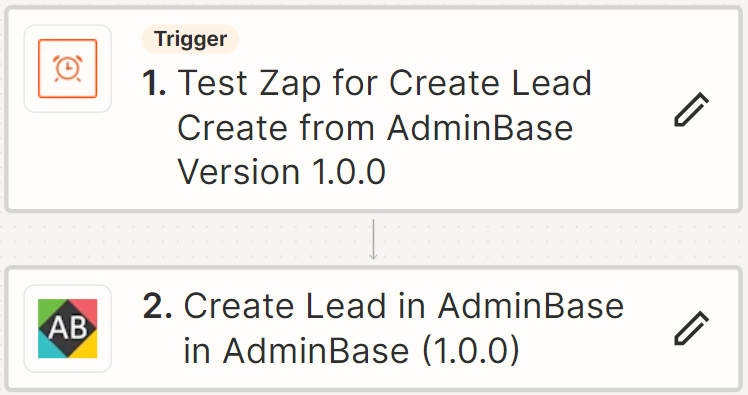
As a follow on action choose the AdminBase app and Event “Create Lead in AdminBase”.
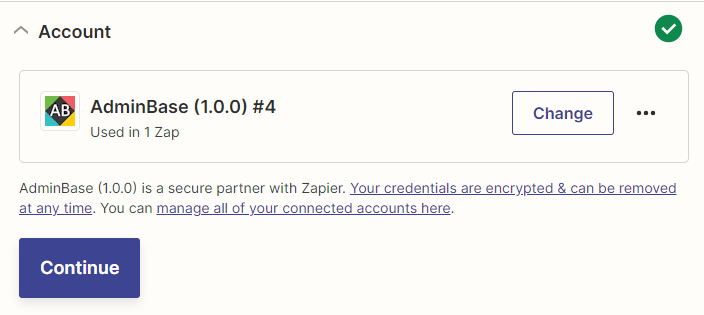
Connect your account using the provided credentials.
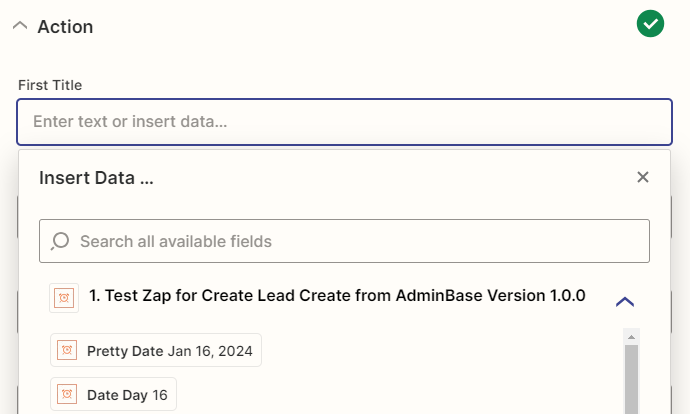
You can then use values from a previous steps to populate the fields to send to AdminBase.
The final step is to then test that and confirm it is working as expected. To do this login in to your AdminBase installation and retrieve web leads.
Creating a Trigger - Data is sent from AdminBase
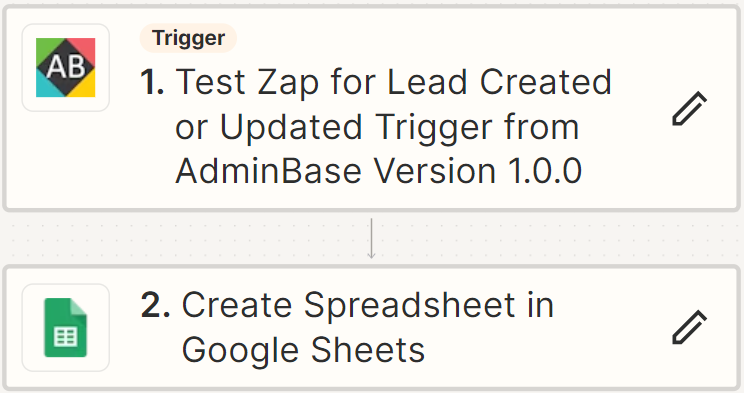
As a follow on action choose the AdminBase app and Event “Lead Created or Updated”
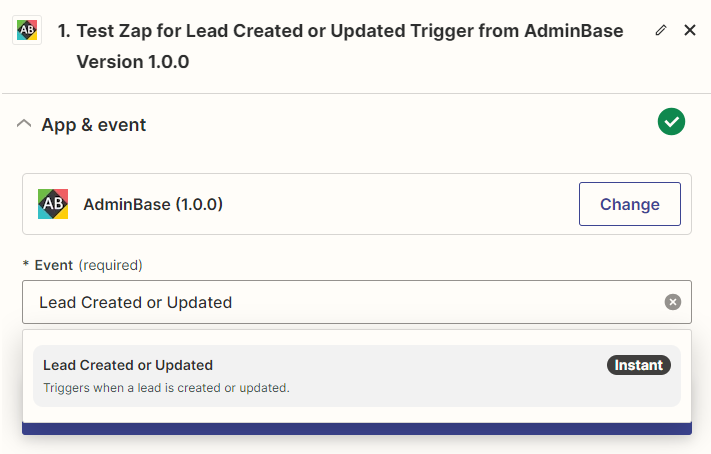
Go on to connect your account using the provided credentials.
Once you create a trigger Zap, Zapier will send a URL to our API. This is saved in the database - It is currently only possible to have one active URL per customer. This means you can only have one trigger Zap. This shouldn’t be an issue for you as it is possible to branch a single Zap and add multiple steps.
Complete the Trigger and Test sections. The available fields will be populated for you, this tells follow on actions the fields and types to expect.

After you have published your Zap
Once you have completed your Zap and published it. login in to your AdminBase installation. Then go to Adminbase > Settings > Company settings > Lead settings > Zapier and click ‘Get Hook’ this will retrieve the URL (sent from Zapier) to send data from AdminBase to Zapier. Saving those settings saves this to your current database.
Any new or updated leads will get forwarded to this Zapier URL. The data will get processed according to your Zap. You are responsible for updating your privacy policy to reflect this.