WhatsApp Setup
Setup
Adding an App
In order to use WhatsApp with AdminBase you need to create a WhatsApp for Business account. Go to https://business.whatsapp.com/ to get started.
If you already have a Meta Business account with WhatsApp connected you can login here - https://business.facebook.com/business/loginpage/
When you login you will hit a page like this.
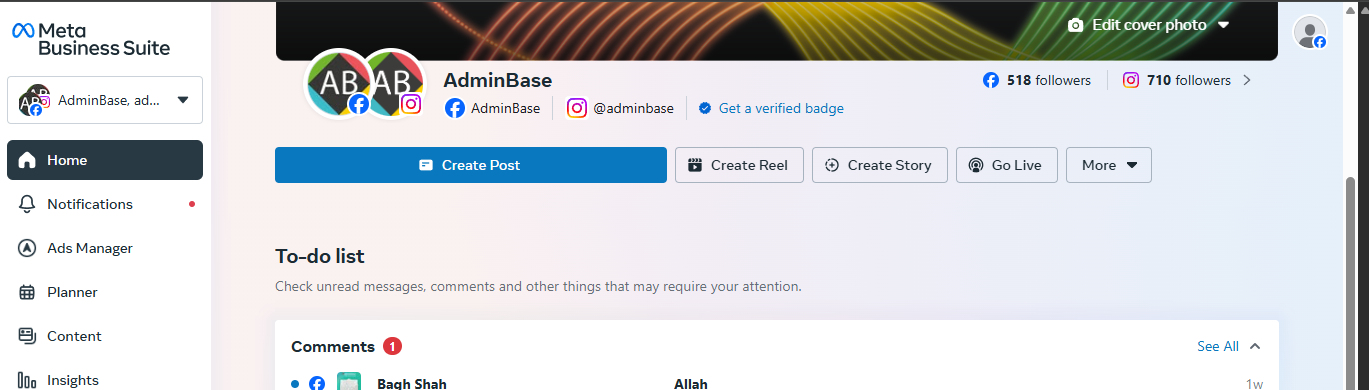
Go to Settings in the bottom left.
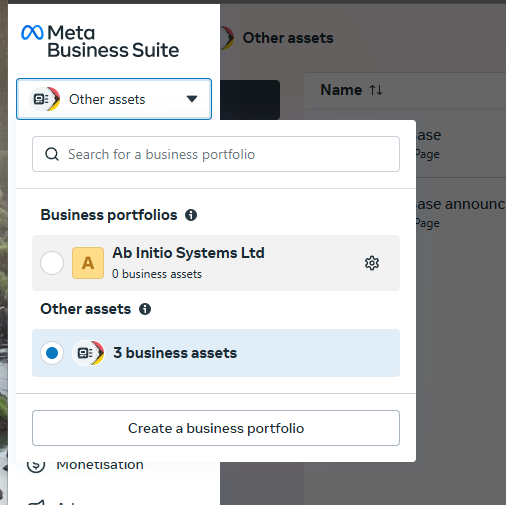
Then in the top left make sure you are in the correct Business Portfolio.
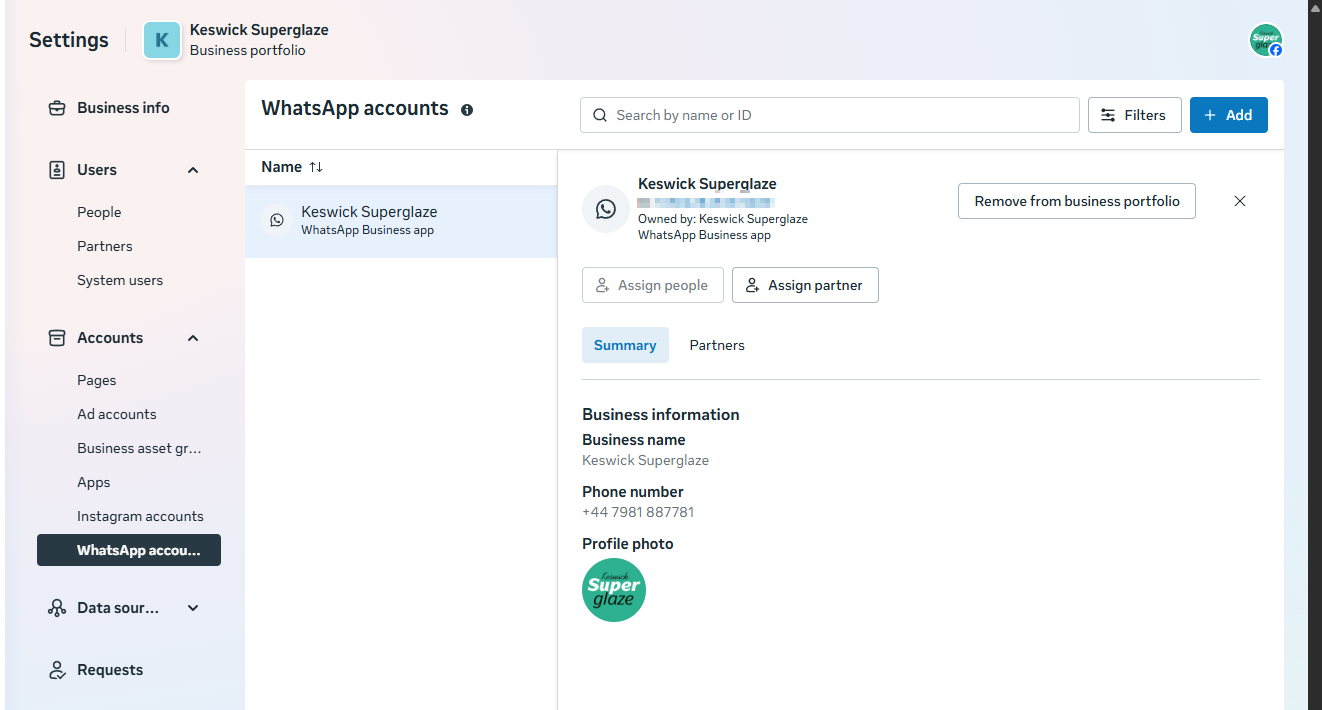
First, within the side options click on WhatsApp accounts
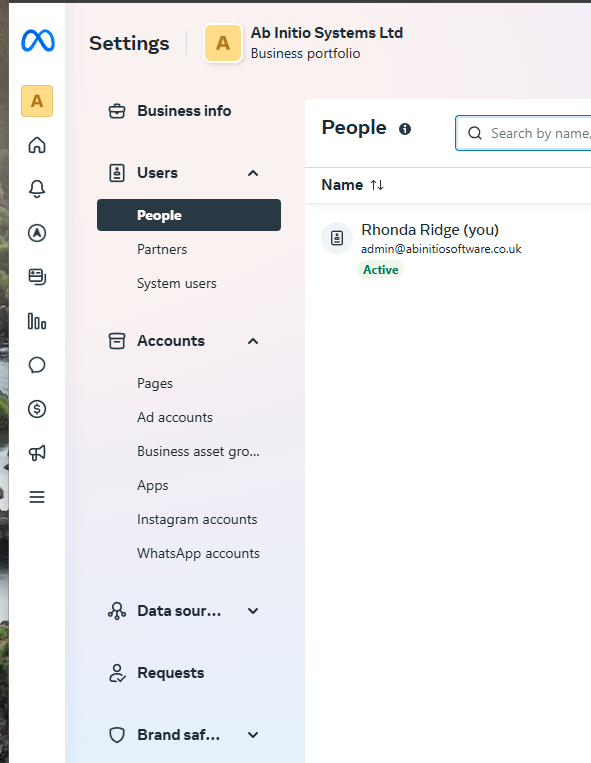
Ensure you CANNOT see the connected WhatsApp account with the PHONE NUMBER they want to use. If you can see this it means there is a phone with WhatsApp on it. You will either need to disconnect this number, or add a new number onto the Meta account.
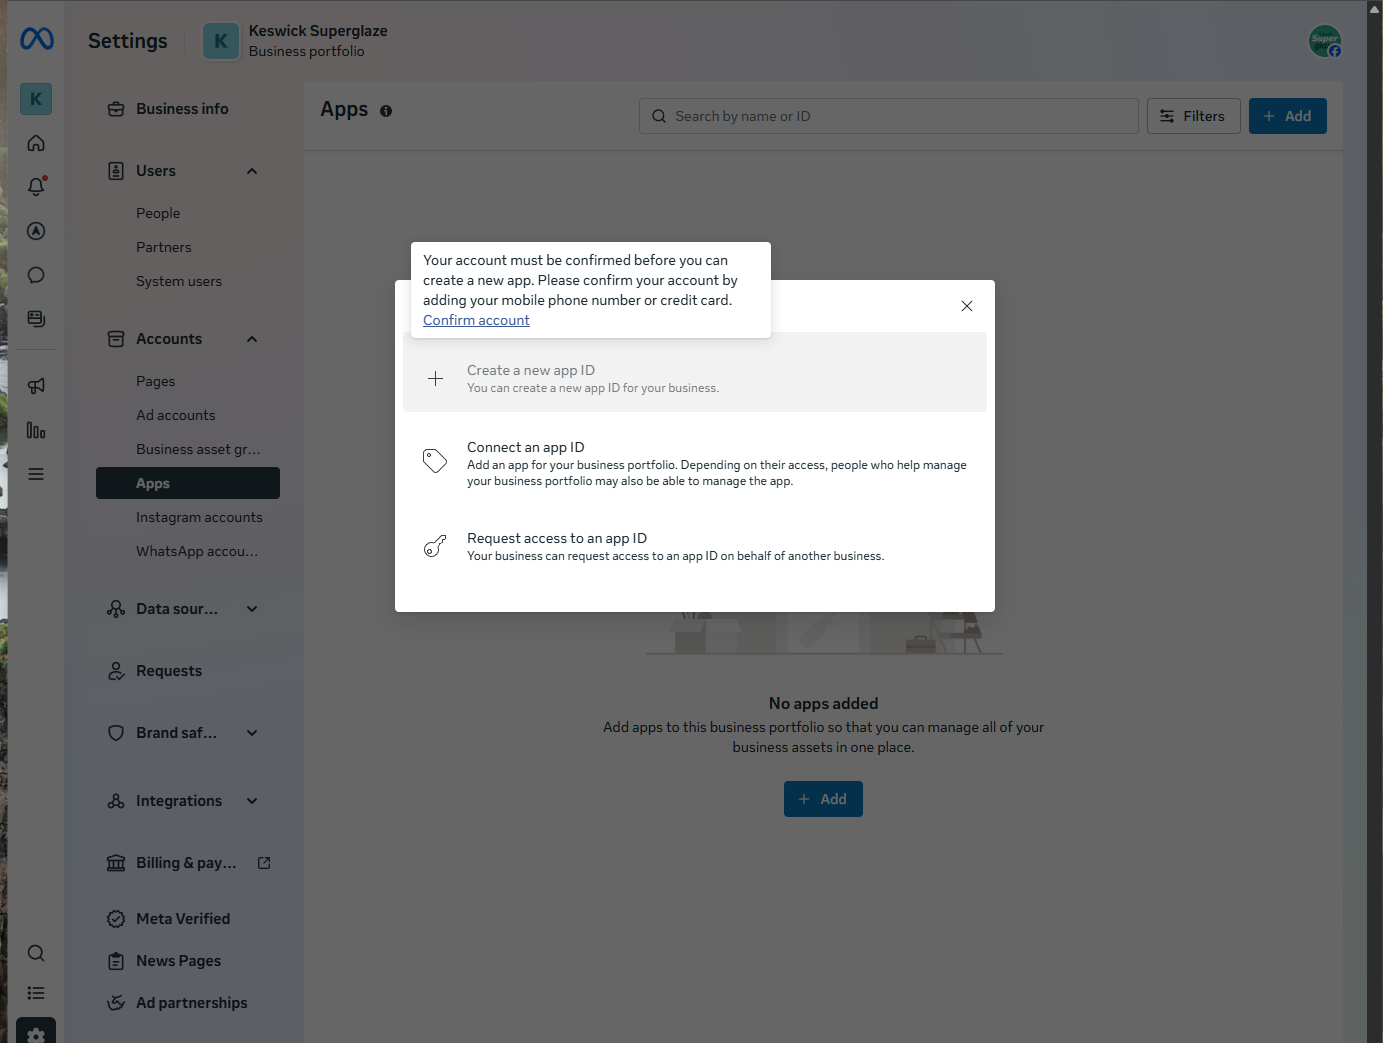
In Apps click add and Create New and follow the steps below to make a WhatsApp app on your Meta Account.
If you don’t have rights to do this then you need admin rights on the account.
If you see this screen they need to verify their account by adding a credit card or phone number.
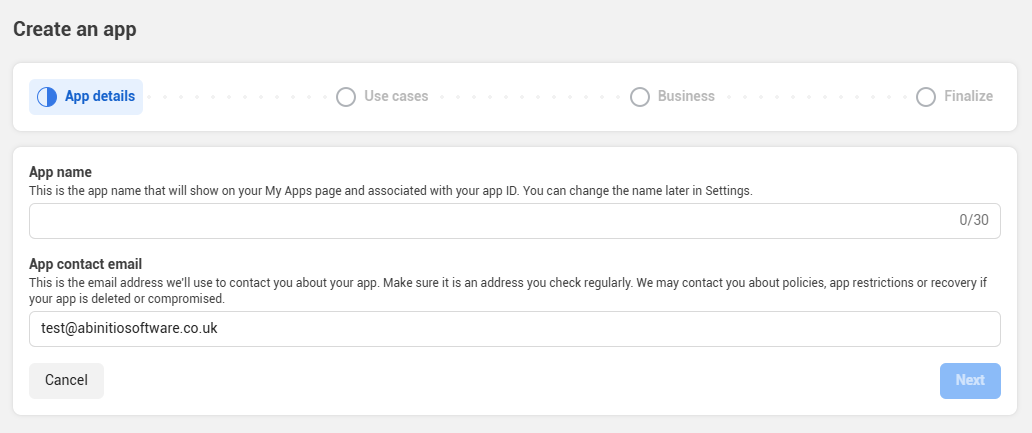
Click Create App, give the new app a name and enter a contact email address.

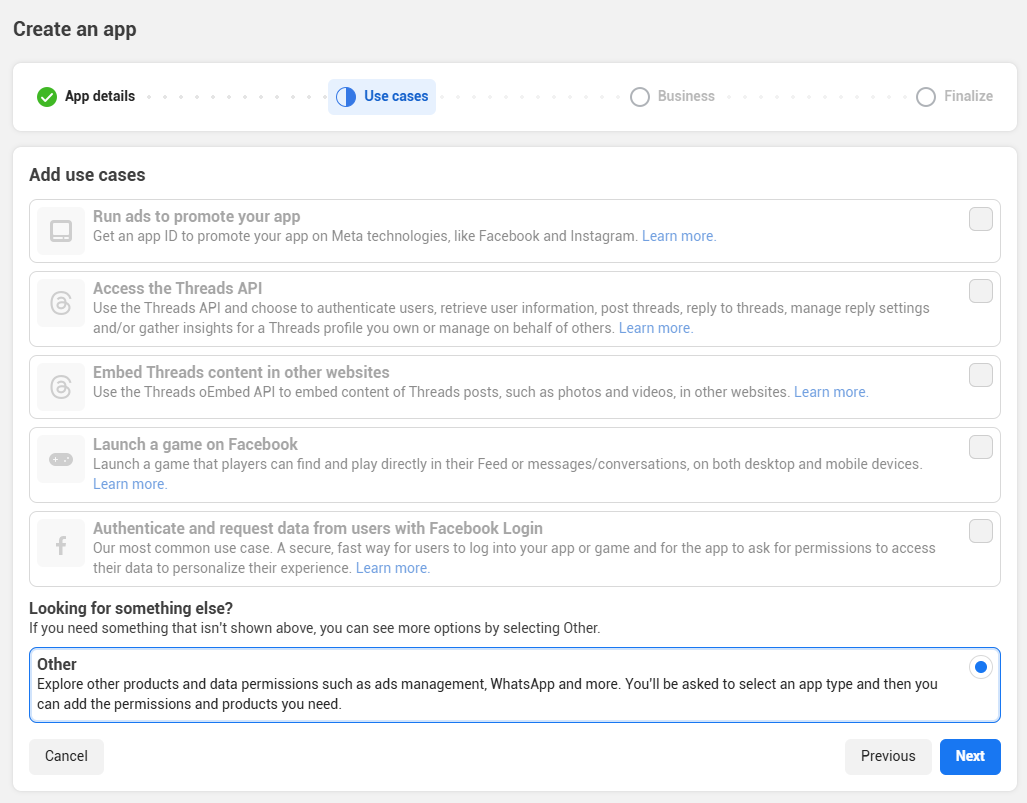
Under Use cases select the Other, and set it up as a Business app type. Once you have selected these options click Create app


Adding a Product
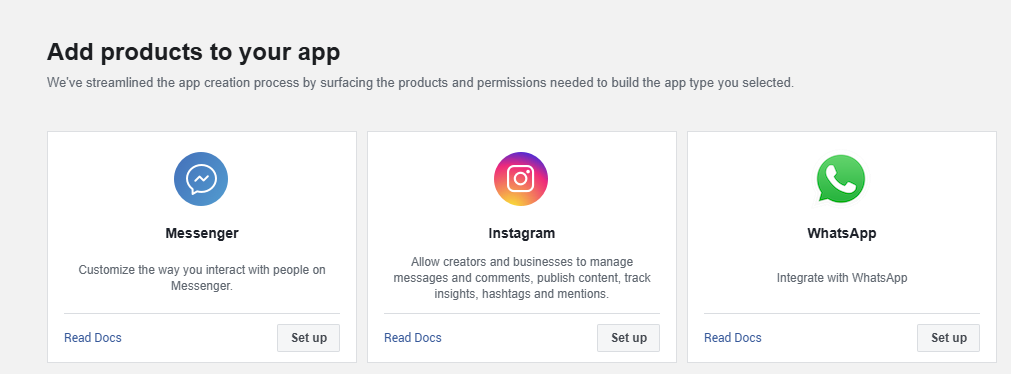
You then need to add a product to the app. Add WhatsApp by clicking setup.
Configuring the API
Before configuring the API, you need to make sure you have a System User set up, along with a Permanent Access Token.
Go to System Users, and create a new user by clicking +Add at the top right of this page. Enter a System User Name and select Admin as the user roll.
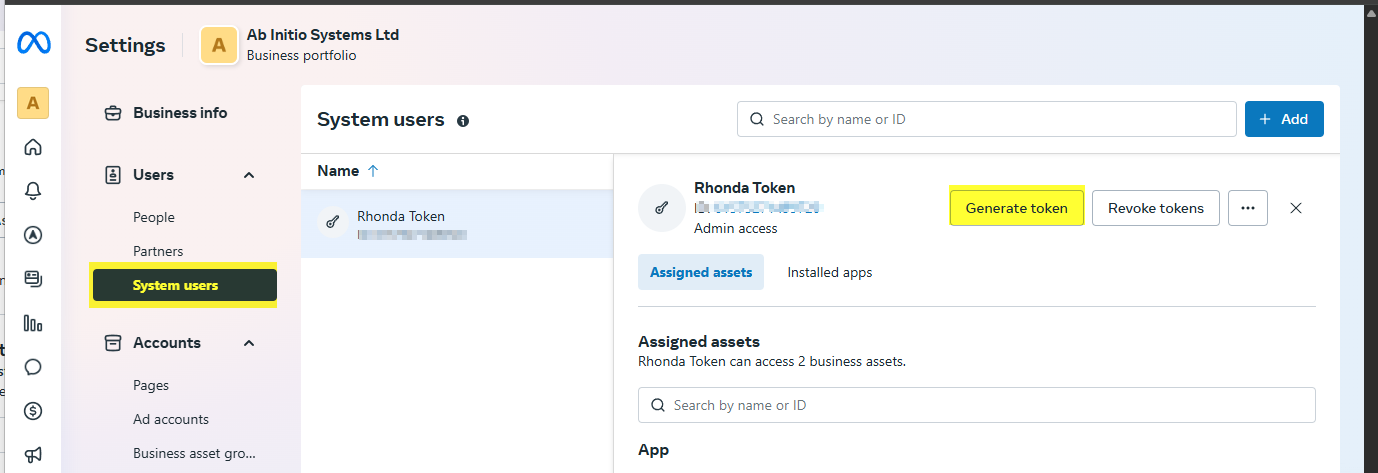
If you have multiple users already, you may need to assign the new app to the user by clicking the 3 dots on the right of the user section
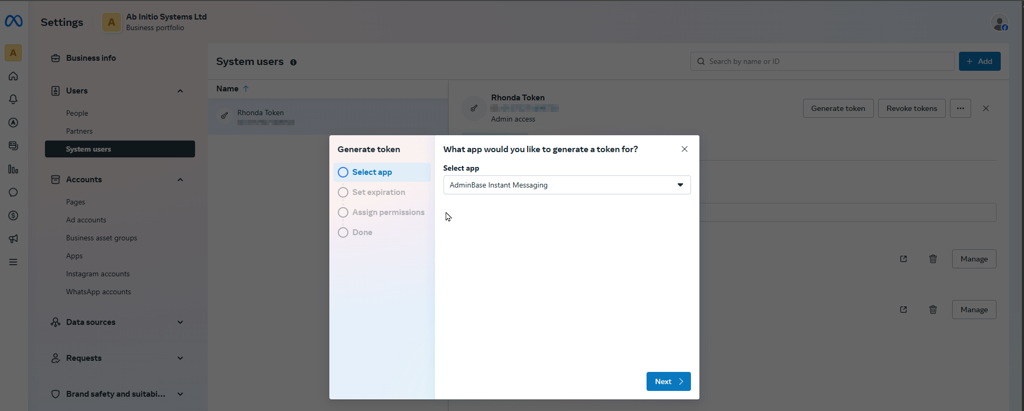
Once this is set up choose Generate Token. Set the expiration to Never and set the following properties:-
Select the new WhatsApp app you have created for this token
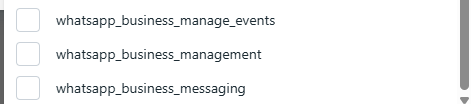
Assign permissions to all 3 of the WhatsApp assets (see screenshot)
This token is what you should now keep safe and you will use this later in AdminBase Settings.
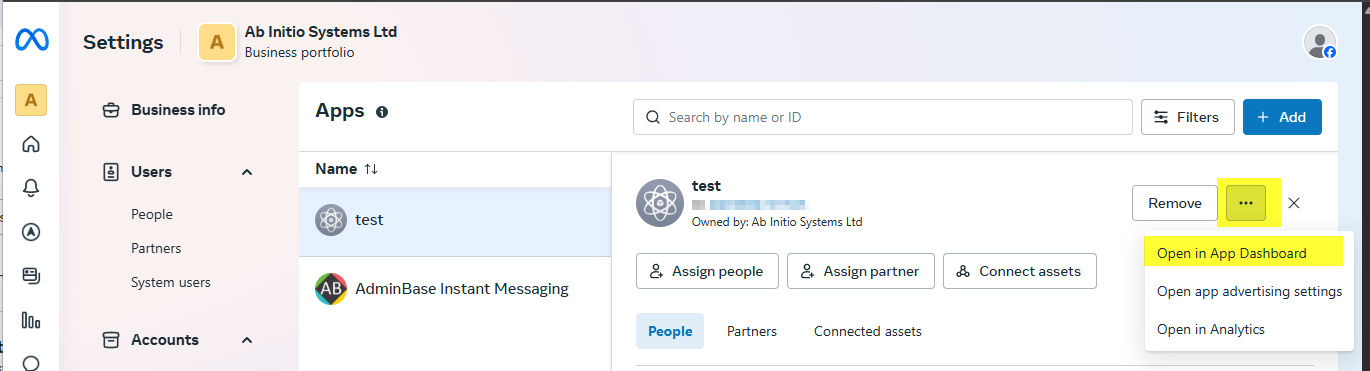
Now you have a System User and Permanent Access Token, you can continue with the API setup. Click on Apps in the Business Suite, click the 3 dots on the right side and choose Open in App Dashboard.
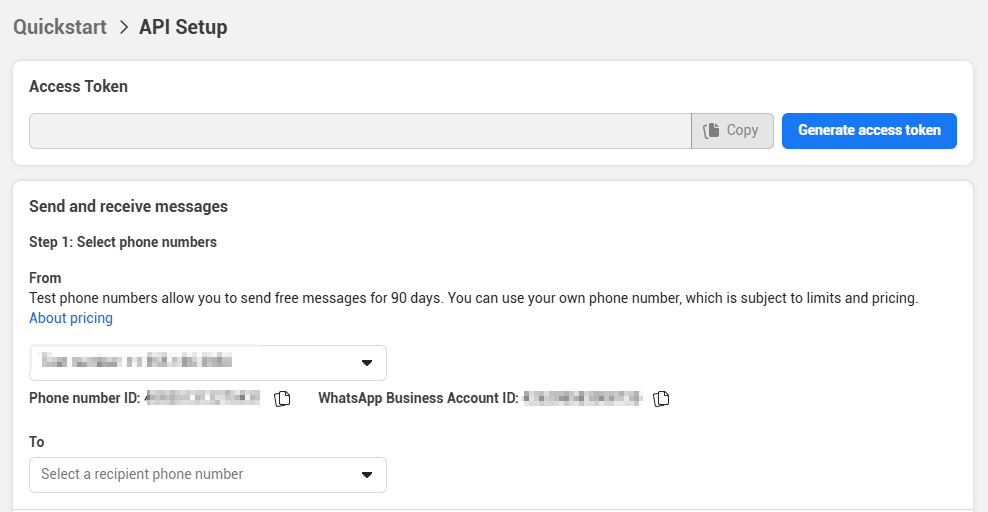
On the left side panel, under WhatsApp click API setup.
Under the Send and Receive messages section, make a note of Phone Number ID and the Business Number ID as this will be used later.
Be sure to create a phone number and payment method if they are not already there
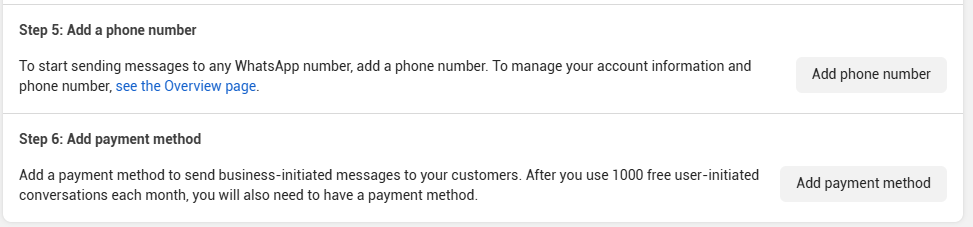
At the point of adding the number you may encounter a conflict if that number is already associated with an account. If the account is in active use, you need another number. If the account has been setup for use with AdminBase and not yet in use you will need to delete the account in WhatsApp on the device. Open WhatsApp > Settings > delete account. Then remove from the business portfolio.
Then go back to step 3 and click Configure webhooks

Put in the URL (https://whatsapp.abinitiosoftware.co.uk/api/incoming/<AB CUST ID>) followed by your AdminBase customer number and the Verify token. AdminBase Support can provide you with both of these.
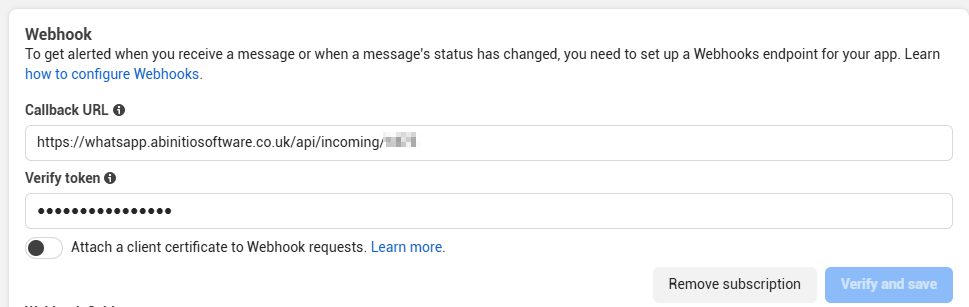
Once verified and saved be sure to Subscribe to messages only.

Then in your app you need to add some basic details:
App Icon - a sqaure image with a transparent background between 512 and 1024 pixels
Privacy Policy URL - This can be a link to the privacy policy on your website

Once you have everything setup you can switch your app to from Development to Live.

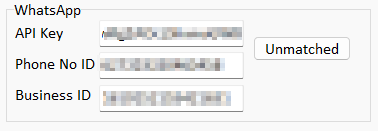
Now you can put the Permanent API Token, Access Token Business ID and Phone Number ID into AdminBase by going to Settings → Company Settings → Passwords
Troubleshooting
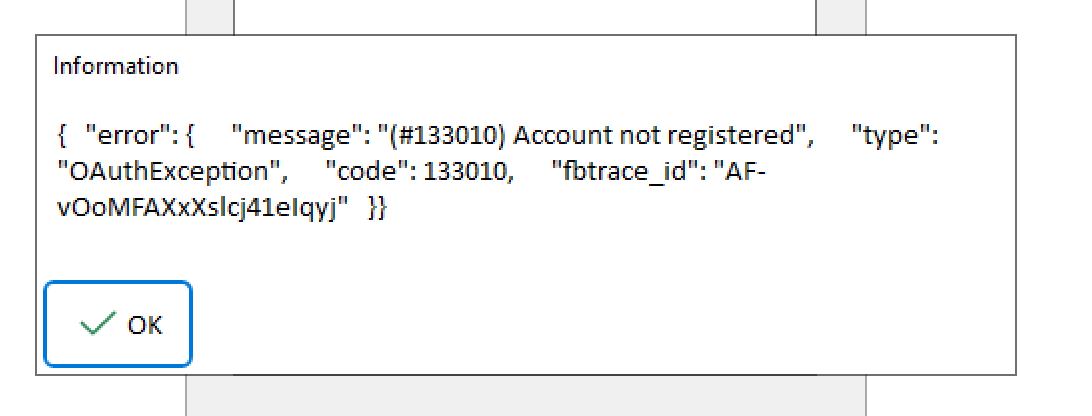
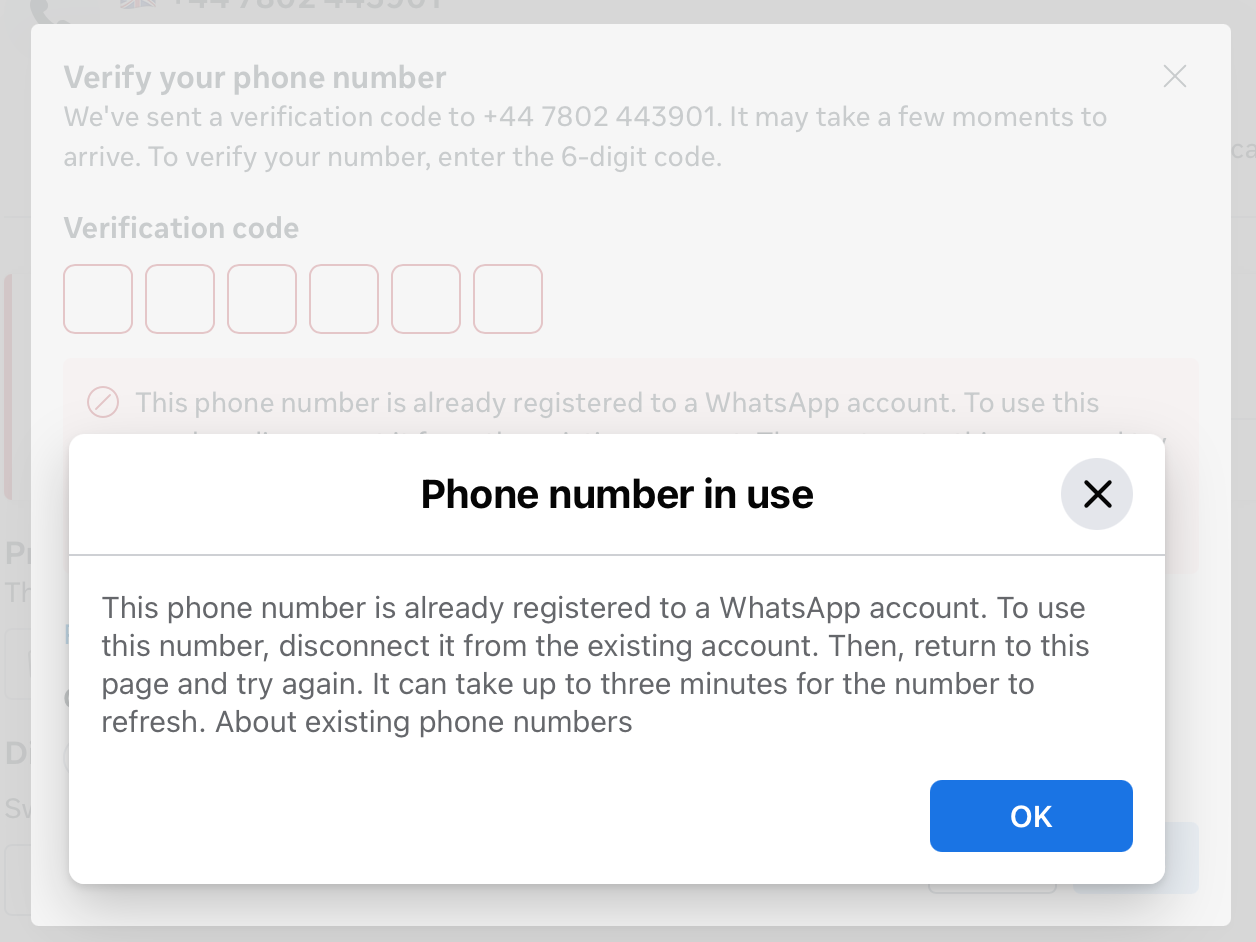
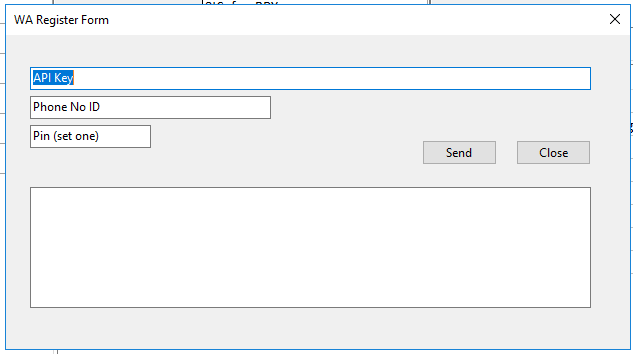
If after all this you see the message in screenshot 1, then either they have registered the number to a device, or you need to call the api. You can check that by trying to verify the phone number, if you get the second screenshot then they have registered it to a device and need to unregister it - see above. Else you need to fire an api request to be able to send massages via the api - third screenshot - accessible through IH.
If you get errors in AB whilst trying to load the send message and template forms it could be that API access has been blocked. To rectify this login and ensure that no account verifications are required either on the login account or on the developer account. To examine the developer account go to Apps > Open in App dashboard.
Using WhatsApp Within AdminBase
WhatsApp messages can be sent as an ad-hoc message or through checklist notifications.
Ad-Hoc
Within a Lead or Contract record, click on the Notes tab, and then click the WhatsApp tab.
Here you will see any messages the customer has sent to you, and you have the option to mark them as read
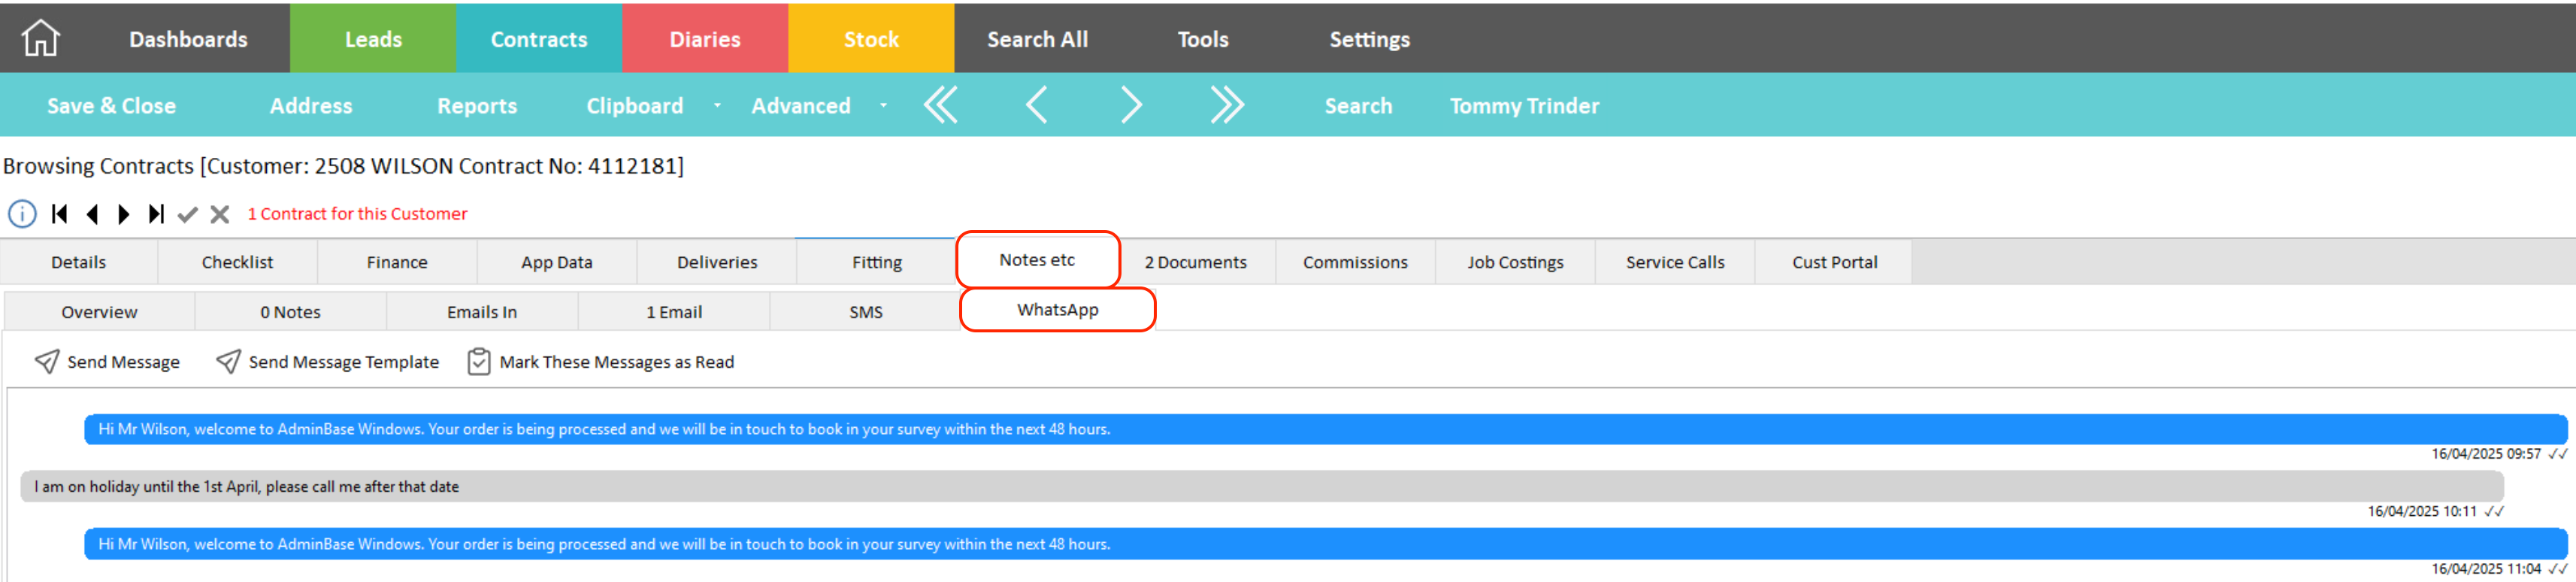
By clicking the Send Message button you can write an ad-hoc message to send to the customer. You can also click the paperclip icon to attach an image or file to send with the message.

Sending the first message to the customer
Due to WhatsApp’s privacy and spam message rules, the first time you send a message to a customer you need to use a template that has been approved by them, otherwise this message will fail to send. The following instructions will show you how to use templates to send the first message to a customer.
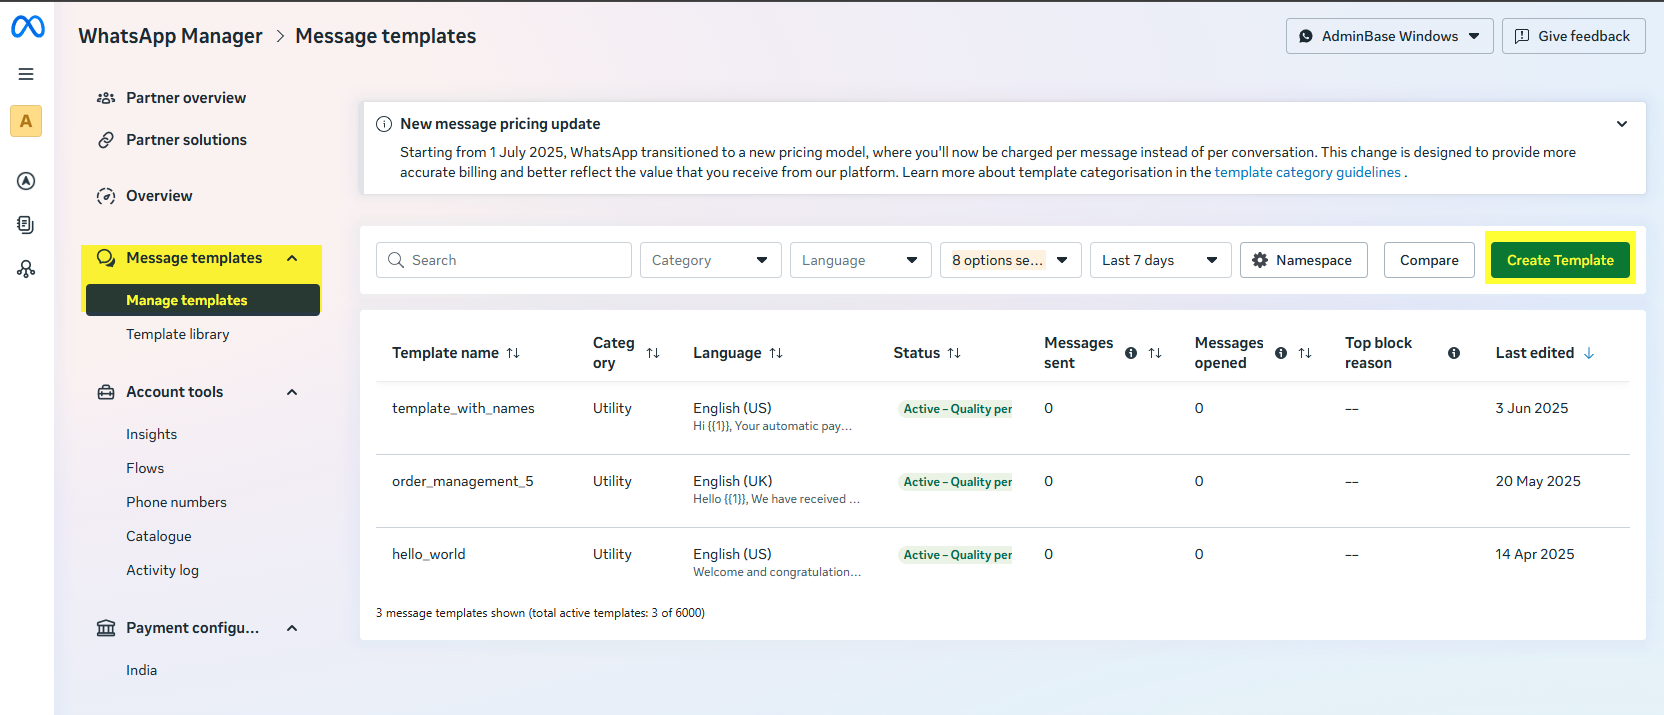
Templates can be submitted for approval by going to Meta Business Suite > WhatsApp Manager > Message Templates.
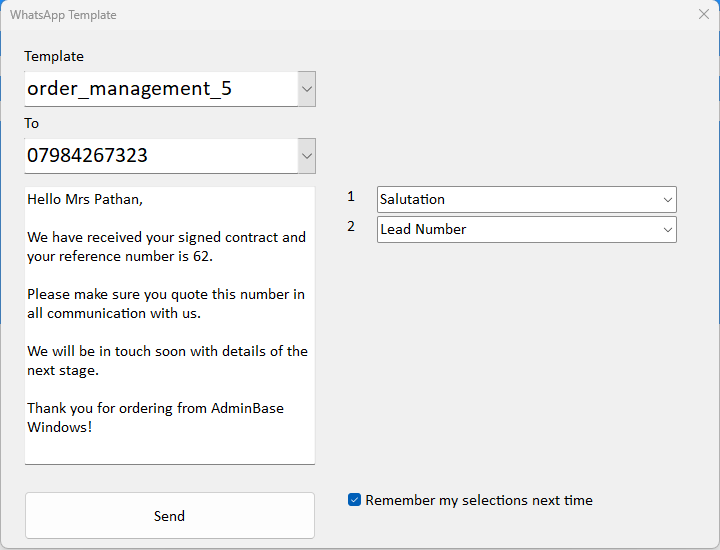
Once approval has been received, you can send the first message a customer using the Send Message Template button. On opening the template form it will present you with the templates you have setup.

This button checks which templates have been approved by WhatsApp, and then allows you to fill in any fields that are required. You can then merge in fields from the current Lead or Contract. Ticking the ‘Remember my selections’ box will ensure that the next time you use the template those fields will be defaulted to.
Once the customer has replied to this first message, or if they message you first, then you can continue to message them as normal through AdminBase
Checklist Notifications
Checklist notifications can now be sent via email, SMS and WhatsApp.
You can set this up by accessing the notification setup screen for a checklist action. This can be found by going to Settings -> Company Settings -> Contract Type Defaults. Open the relevant Contract Type and click on the Checklist tab.
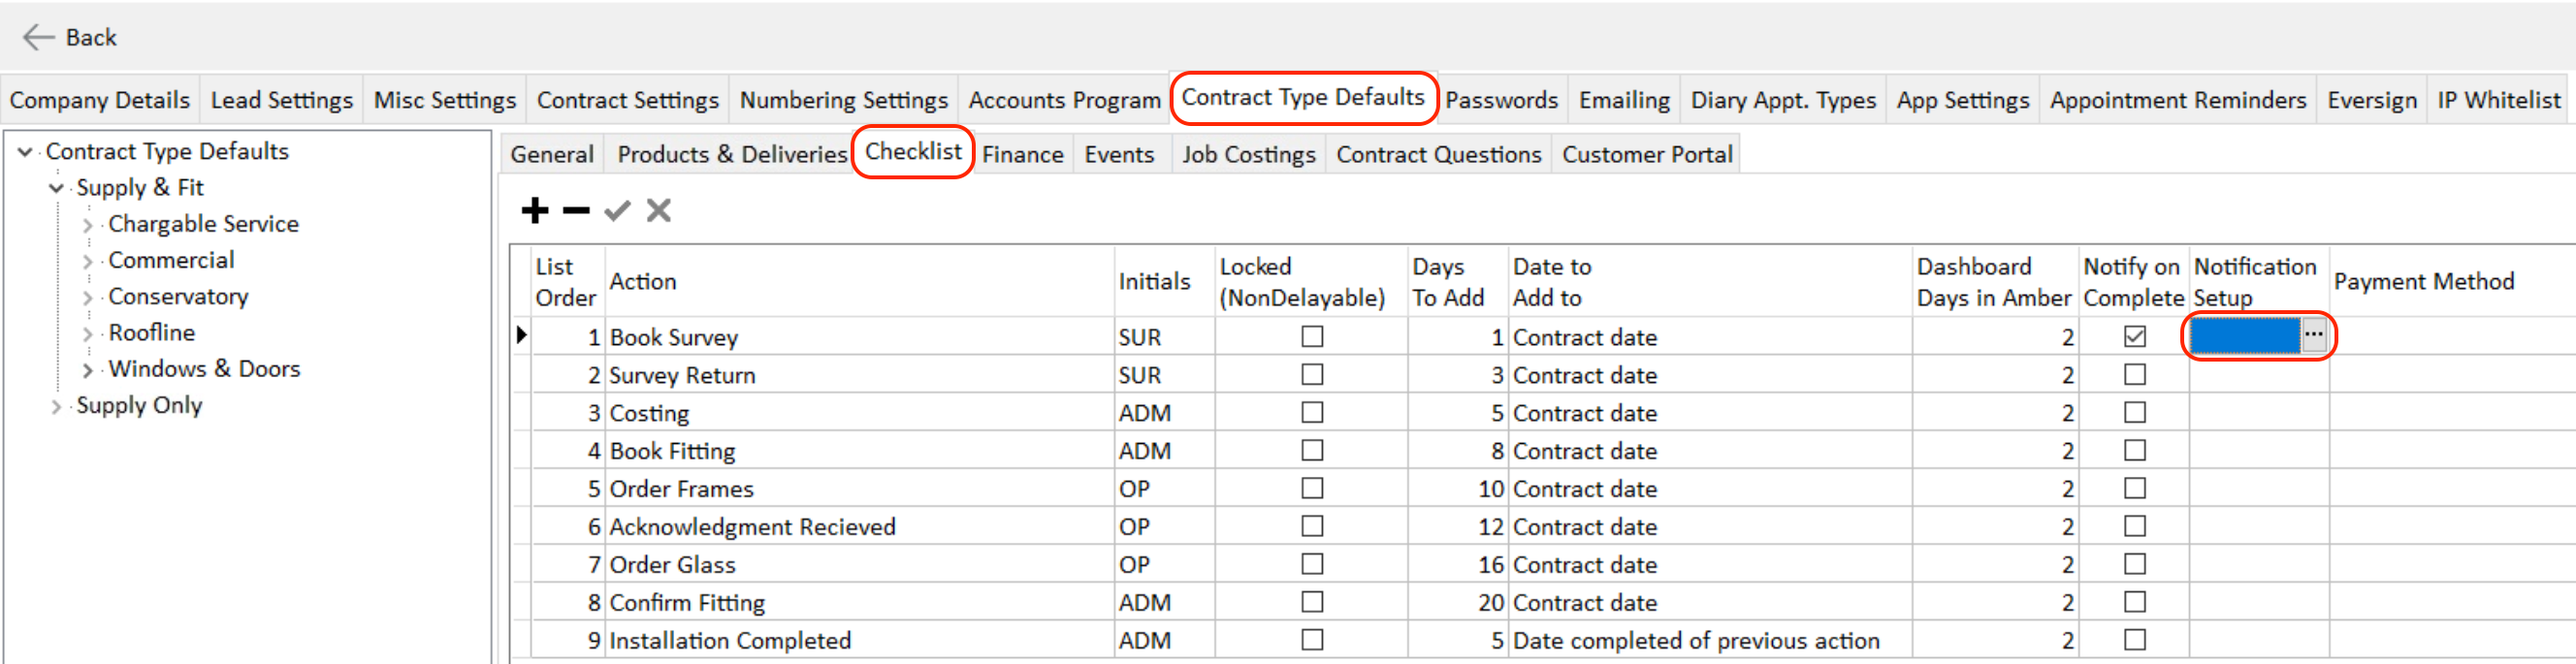
On the checklist action that you would like to set up a notification for, click the 3 dots within the Notification Setup box, and at the bottom of the screen click the 3 dots within the Customer field in the WhatsApp notifications section.
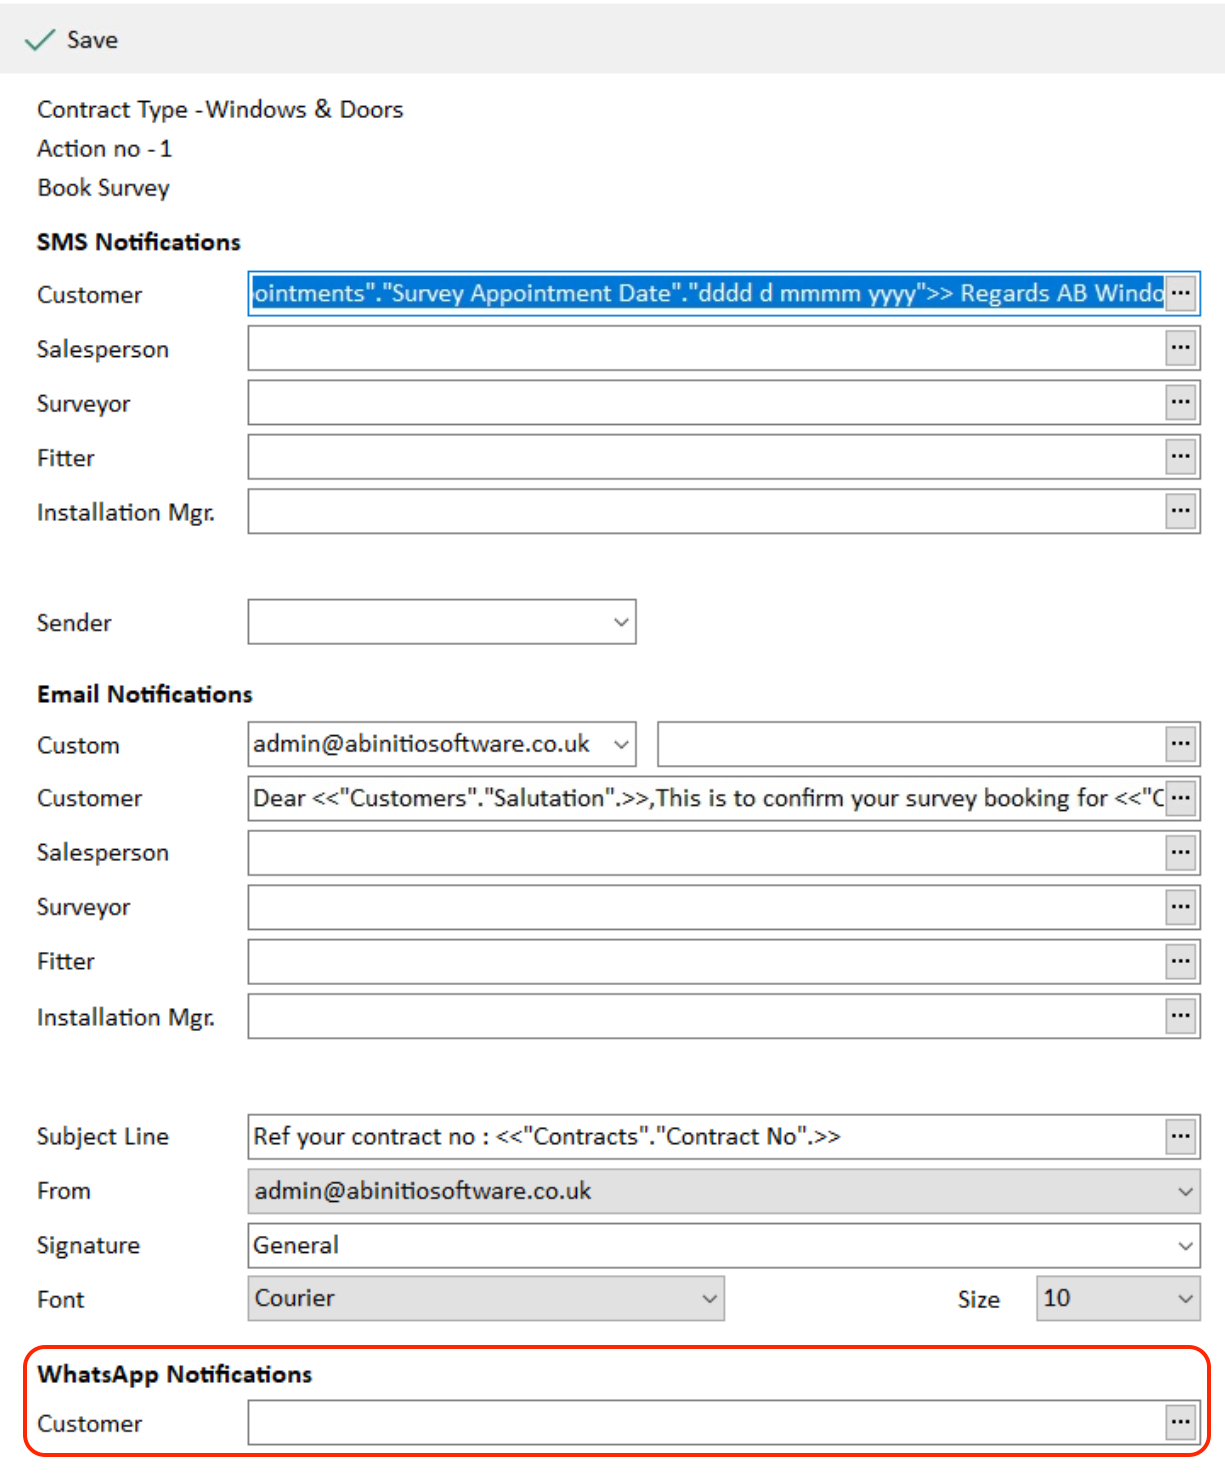
These WhatsApp notifications are set up in the same way as default SMS messages, where you can add Merge Tags to pull Lead, Customer, Contract and Appointment information from AdminBase into the message. For more information on how to use checklist notifications and set up SMS messages, please see the following videos:
How to use the contract checklist
How to set up SMS notifications
Unread Messages
Within the Lead and Customer browser, you can now access unread WhatsApp messages that have already been assigned to a Lead or Contract. On the left hand Lead or Contract Views panel, click on the Unread WhatsApp view. Here you will see a list of unread WhatsApp messages and the Lead or Contract that they relate to

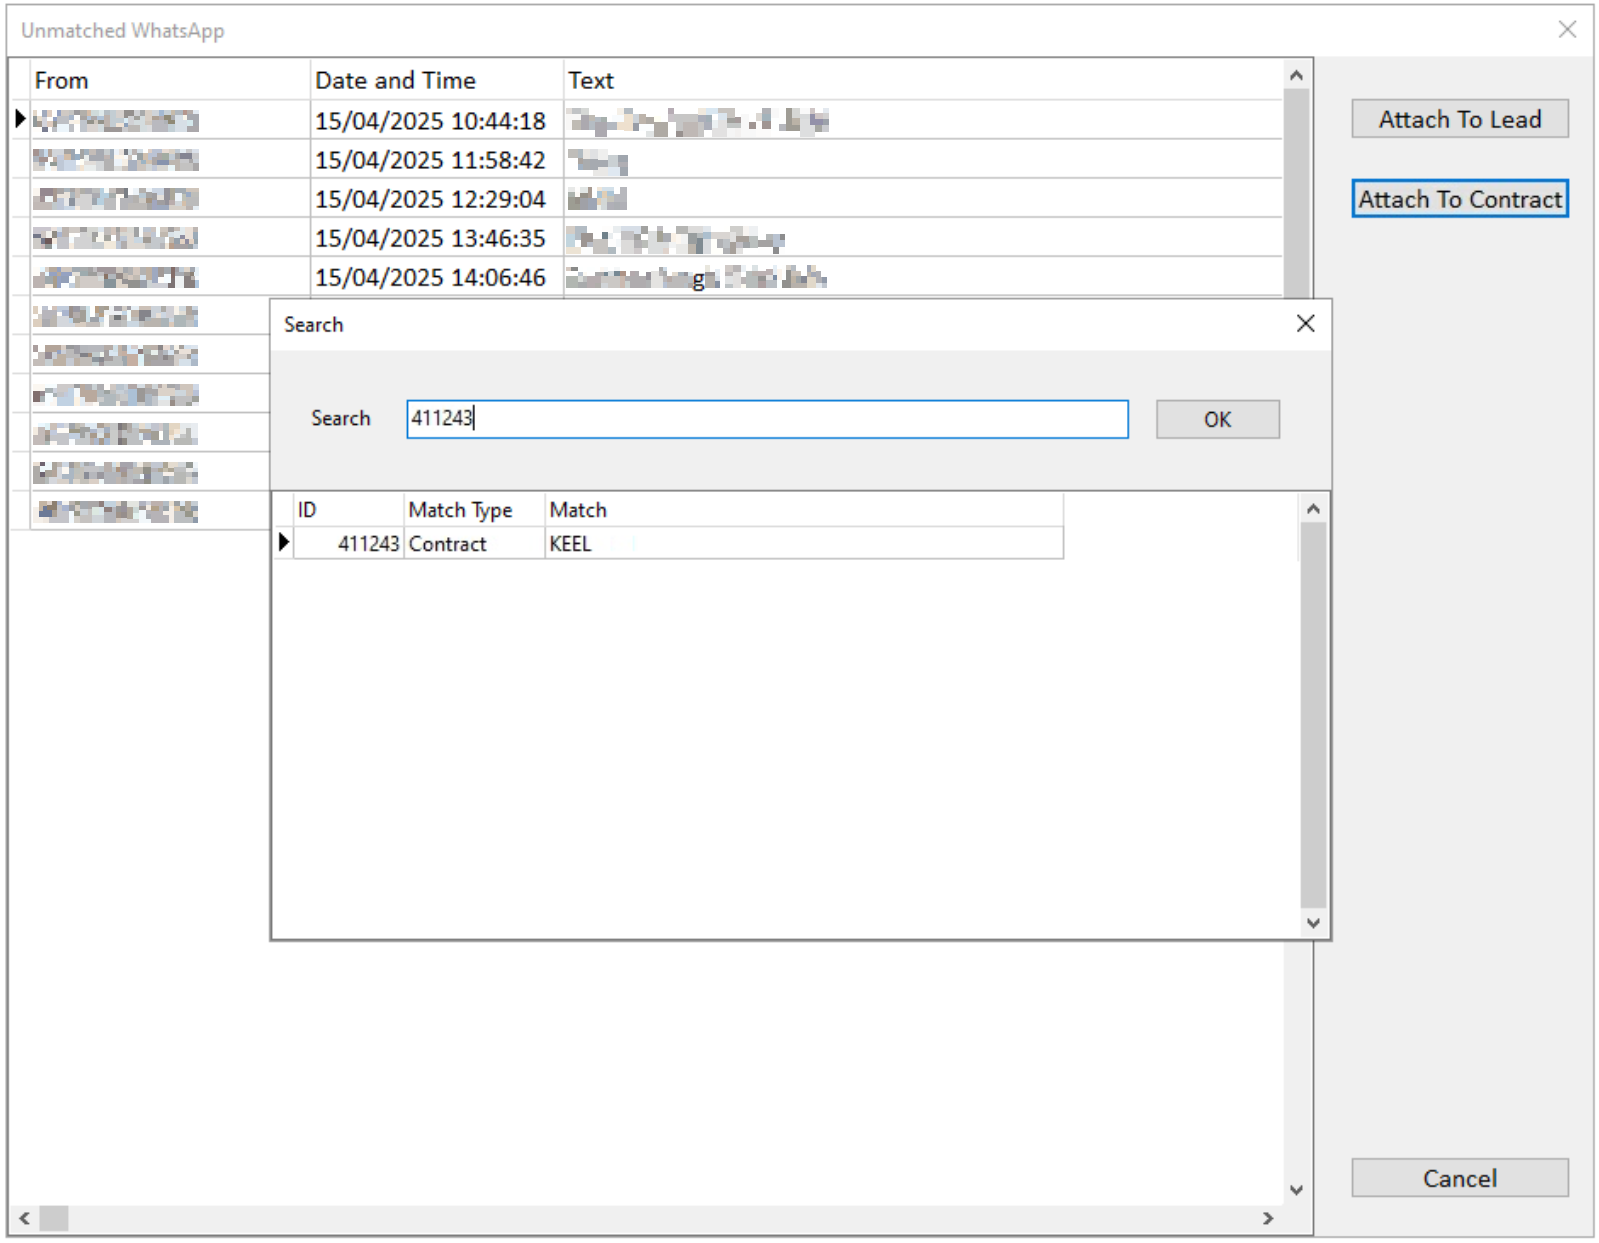
Unmatched Messages
AdminBase will automatically try and assign a WhatsApp message to the relevant lead based on the customer's phone number. However, if the customer's phone number is not already stored in AdminBase, or they use a different number, then this will need assigning. All the WhatsApp messages that fall into this category are stored within the Unmatched WhatsApp view.
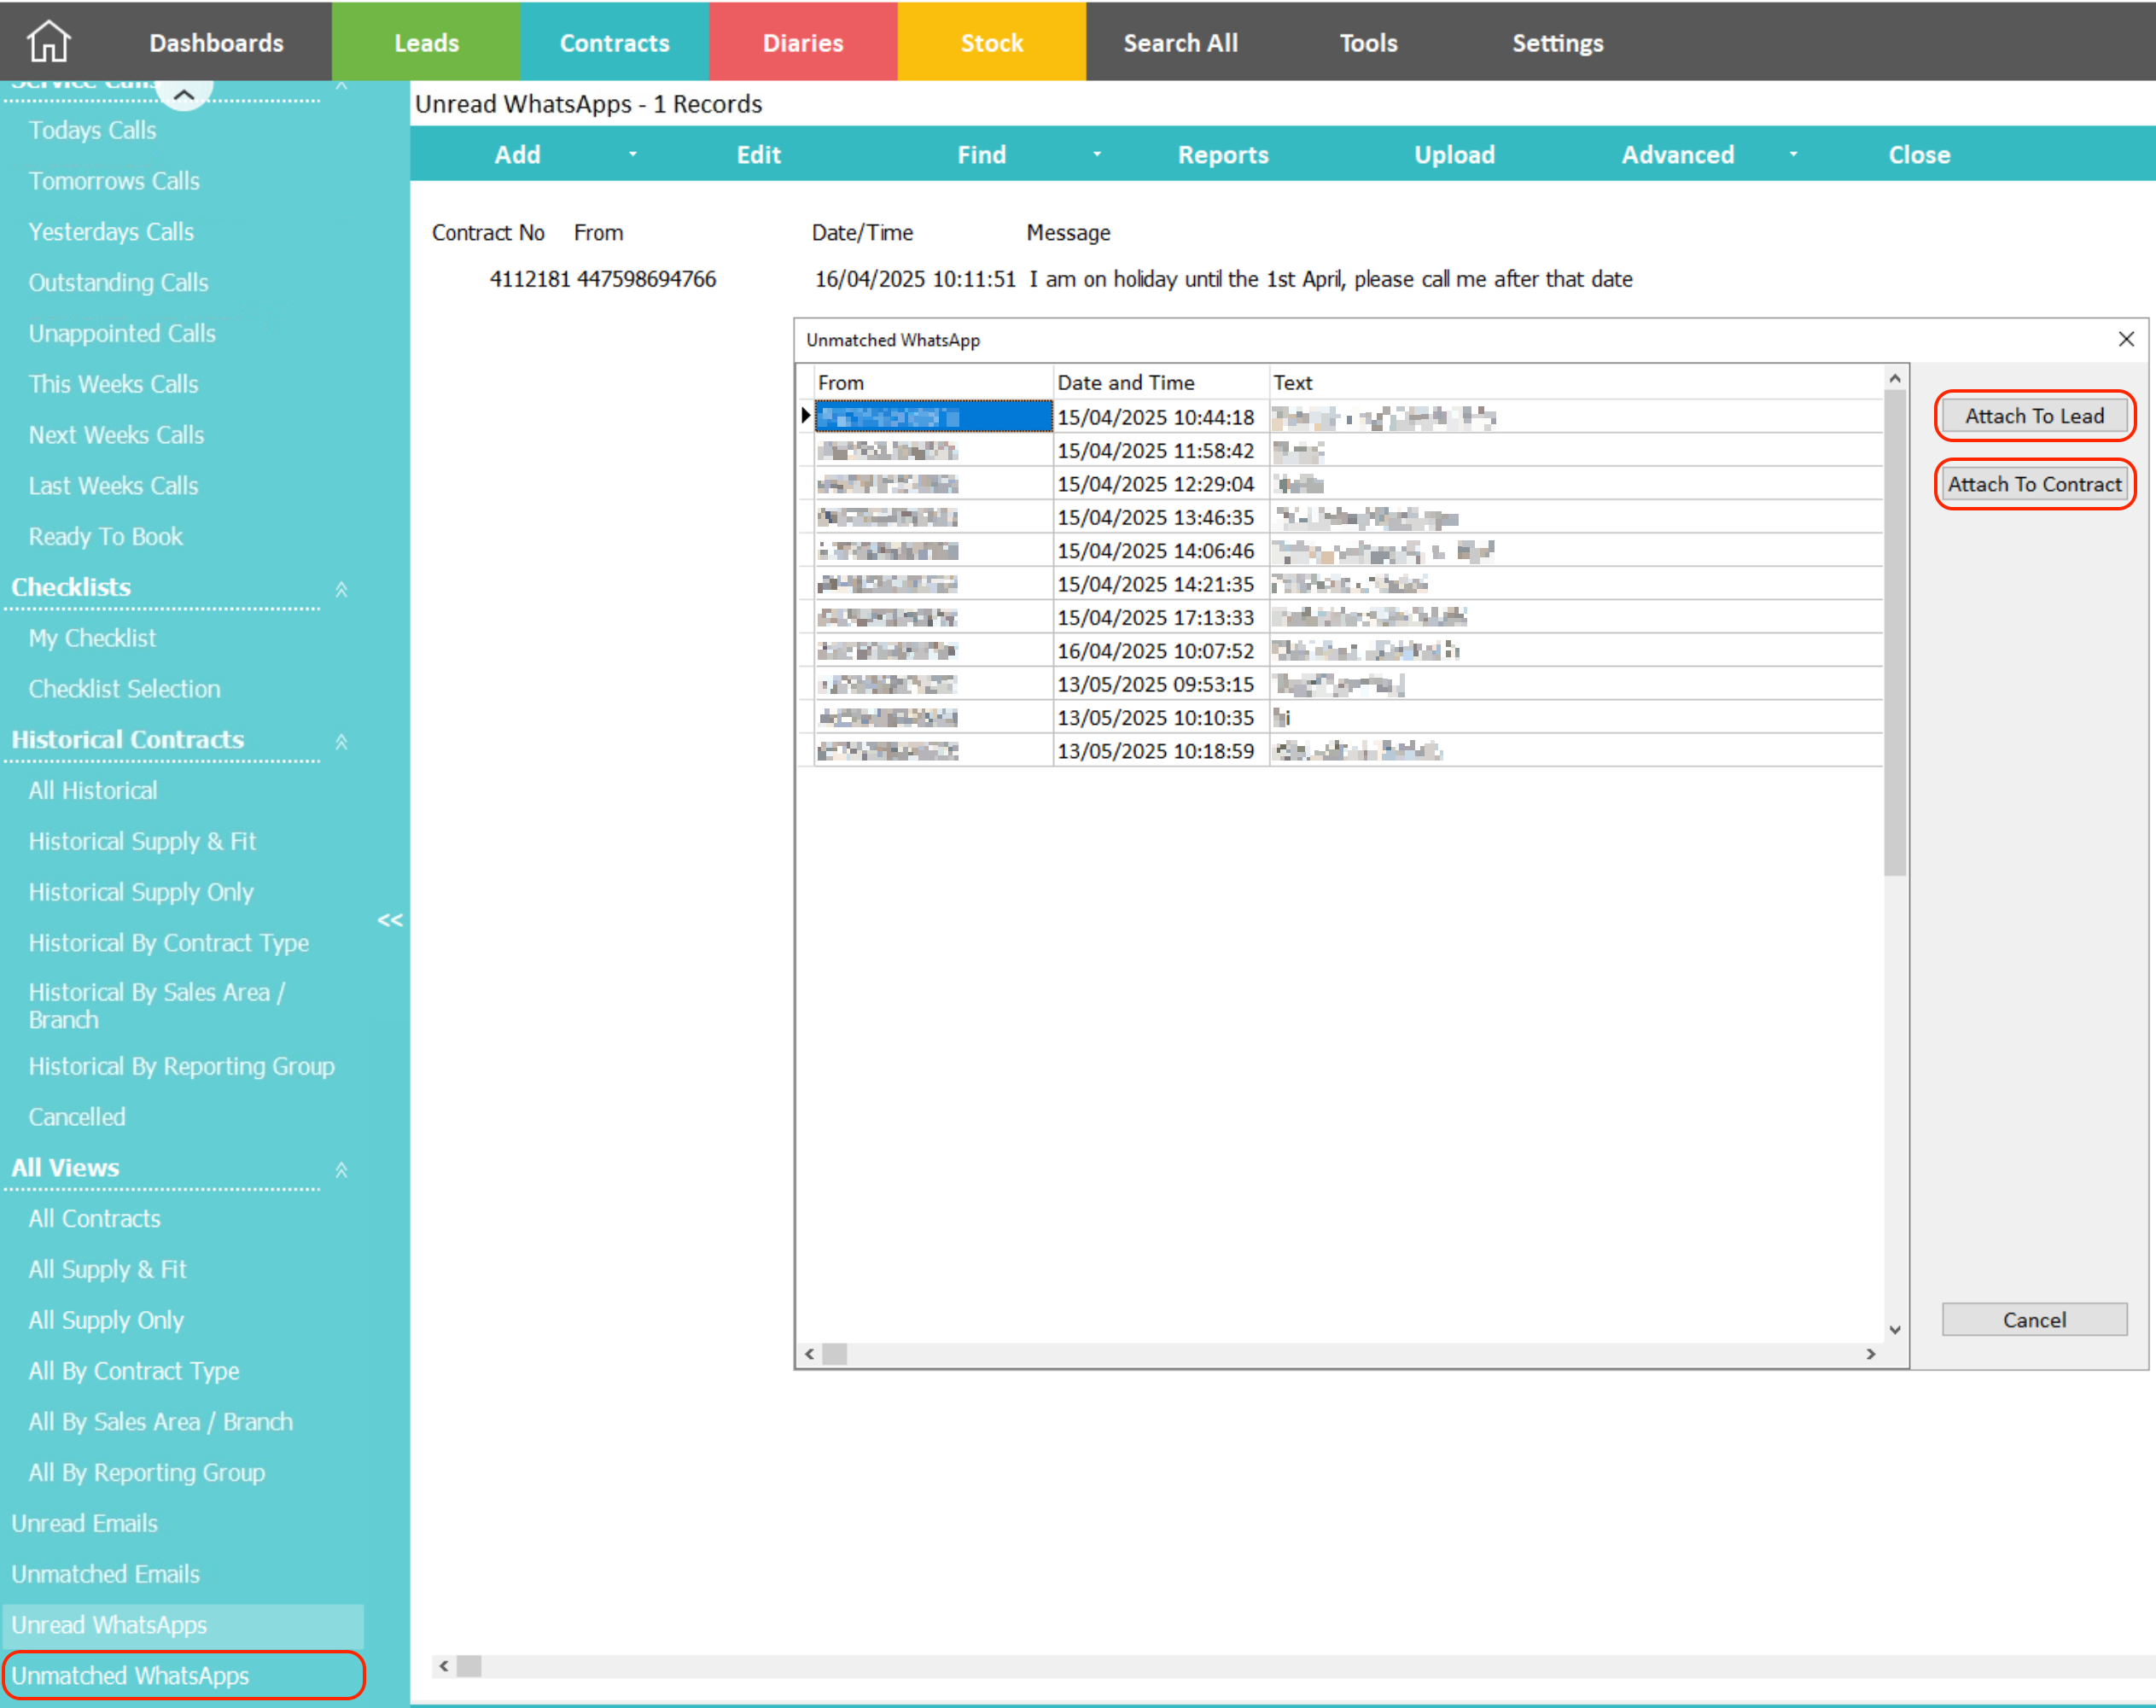
You can then attach the selected WhatsApp message to a Lead or Contract by clicking the Attach to Lead or Attach to Contract button. Searching by Lead or Contract number will allow you to find and link this message.